Last year, I’ll never forget when little Miss Chloe Towersey displayed her perfect Thanksgiving pies on Instagram. I almost fainted from domestic jealousy. She somehow concocted the perfect looking braided pies with ease, they screamed of June Cleaver. Believe it or not, I love June. I want to be like June and I’m sad I’m not more naturally like her. I blame my educated, independent mother:)
Much to my surprise, Chloe told me that her masterpieces were not hard to make and that she would be happy to show me how to replicate. Come this Thanksgiving, you better believe I took her up on that offer.
Last weekend, I went to Chloe’s house the morning of our annual Friendsgiving and she showed me exactly how to impress my friends and family with picture perfect pies.
Take it away Chloe…
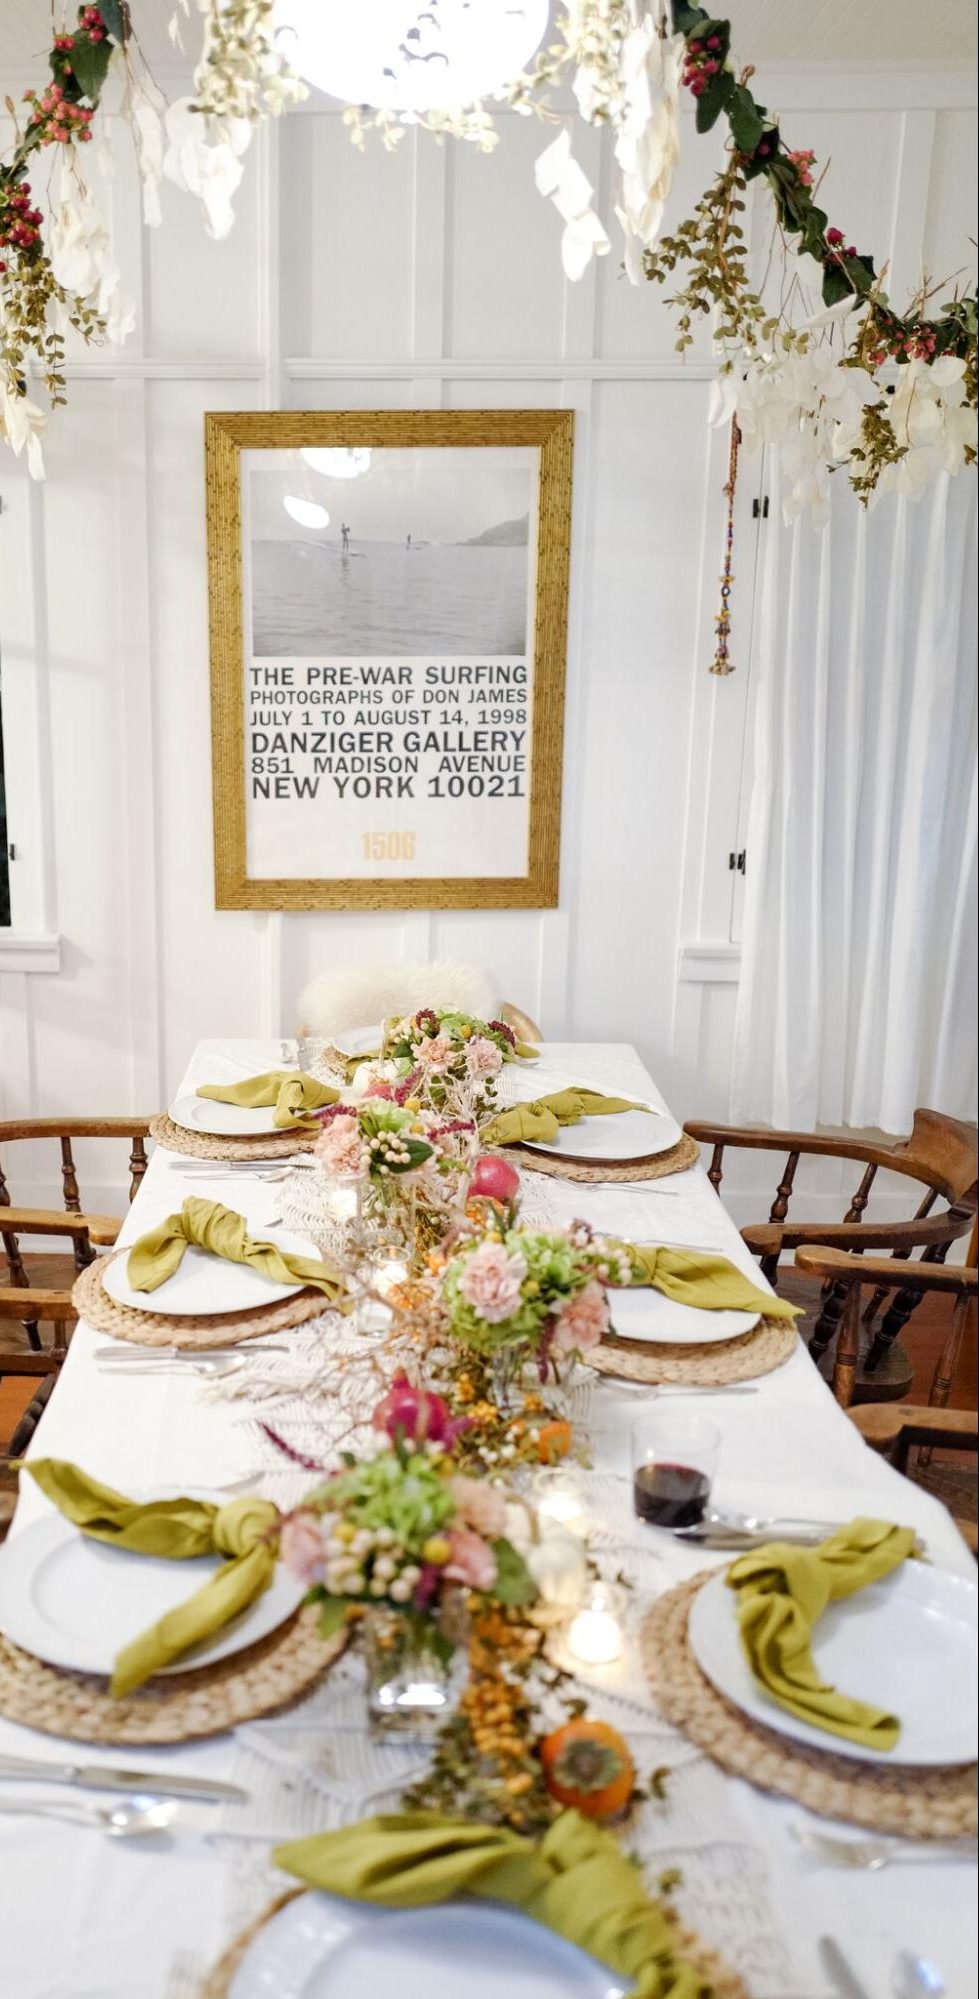
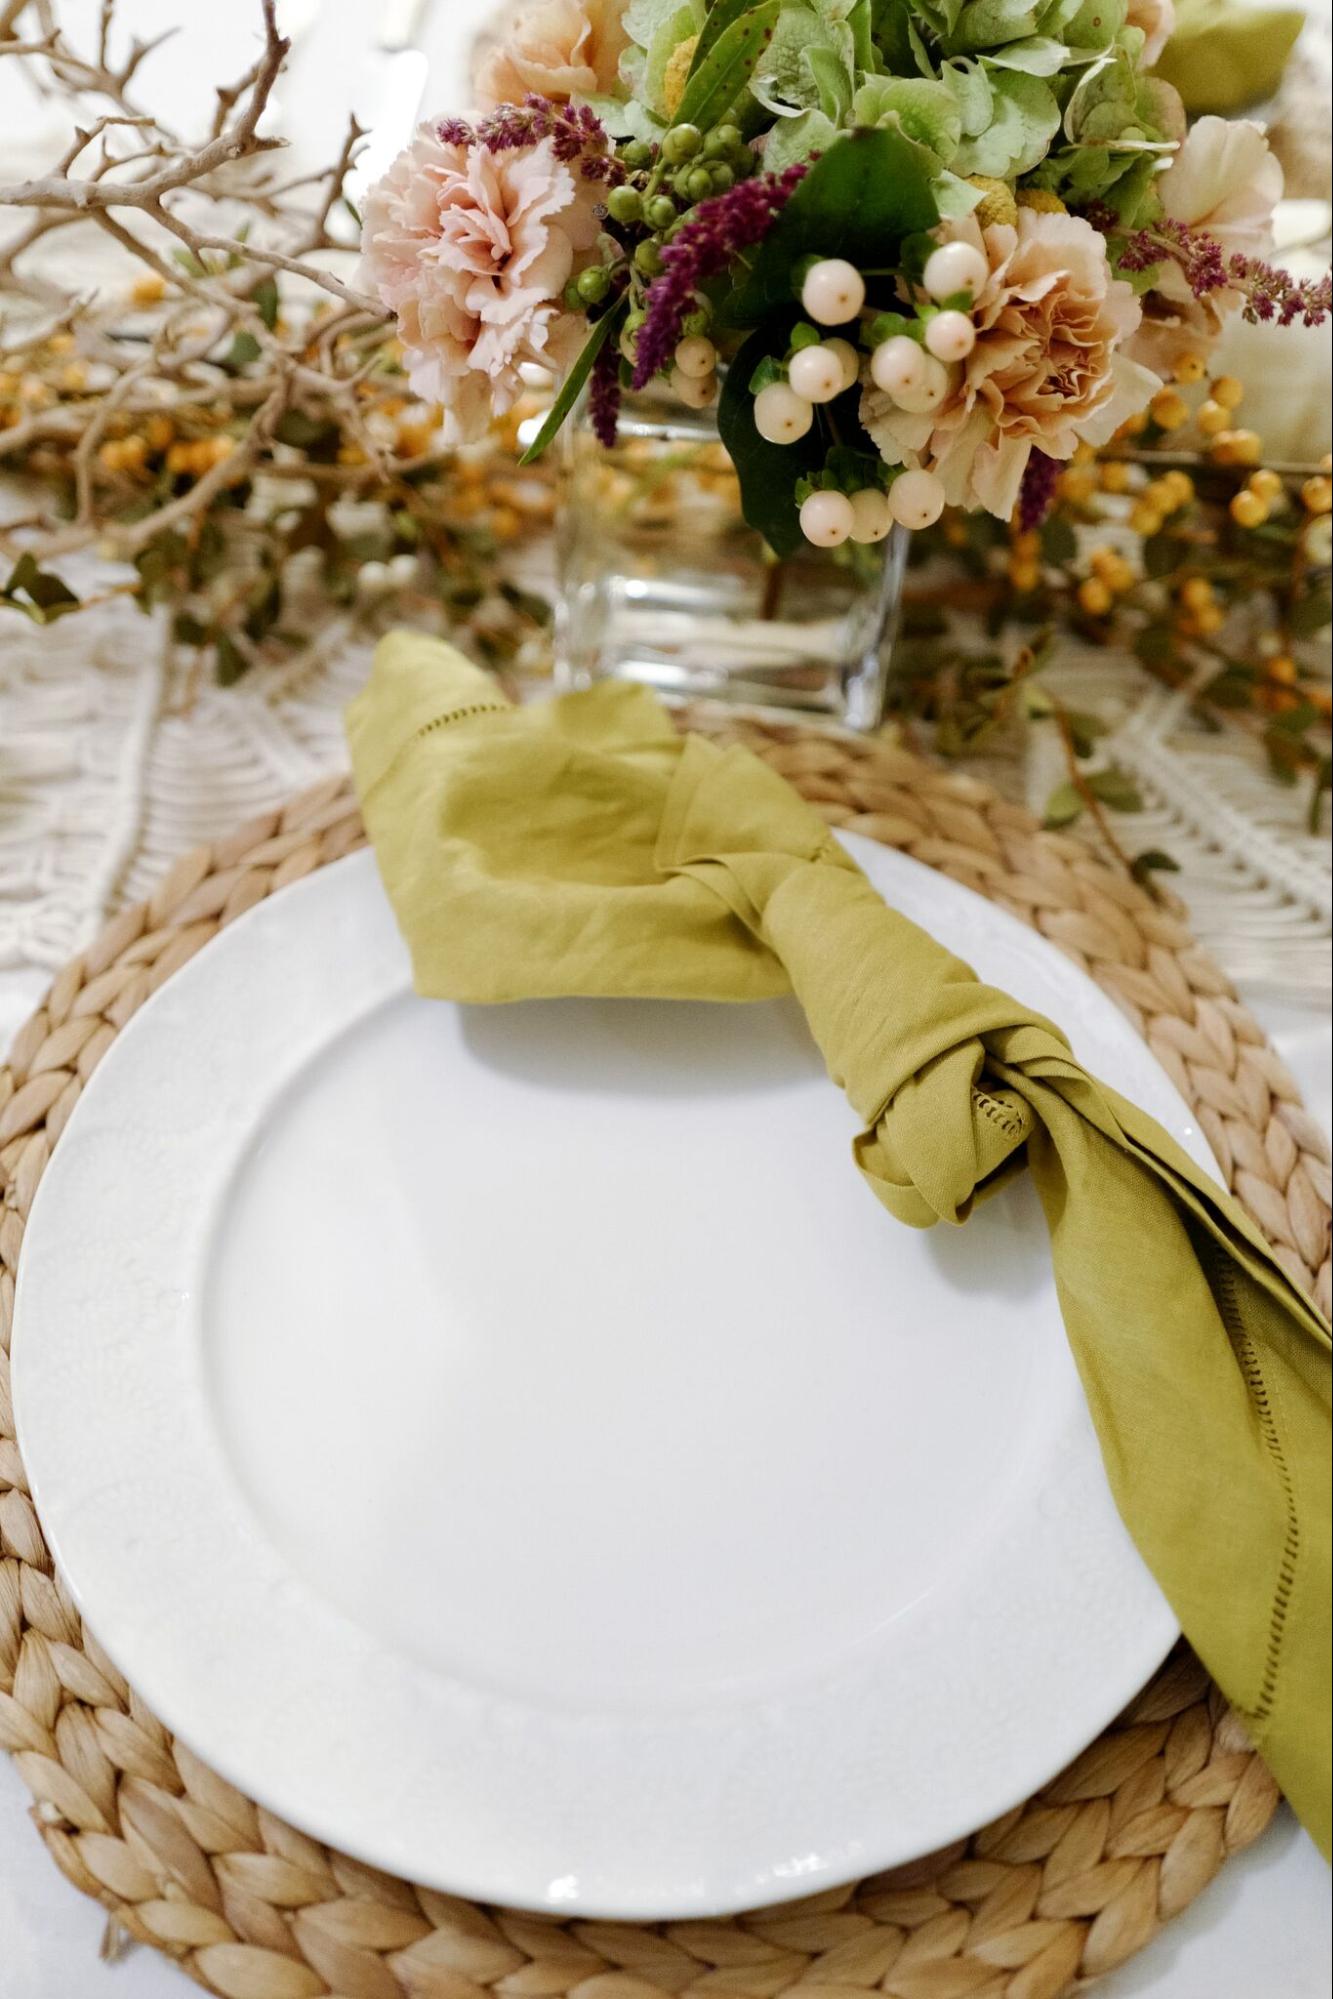
Every year, we get together with our dinner club for a Friendsgiving celebration. This was my first year hosting the annual get together. I LOVE putting together a tablescape and decorating for the holiday, but the task of cooking is a little daunting for me (especially with a nine month old… who has the time?)! So, this is my little secret weapon when it comes to preparing a pie… premade crust! You can braid it, add flowers, do a beautiful lattice and, it tastes great!
This is my favorite apple pie recipe but you can easily upgrade any kind of pie with a beautiful handmade design.


Prep Time: 30 min
Total: 3 hours
Ingredients: 8
Serving Size: 8
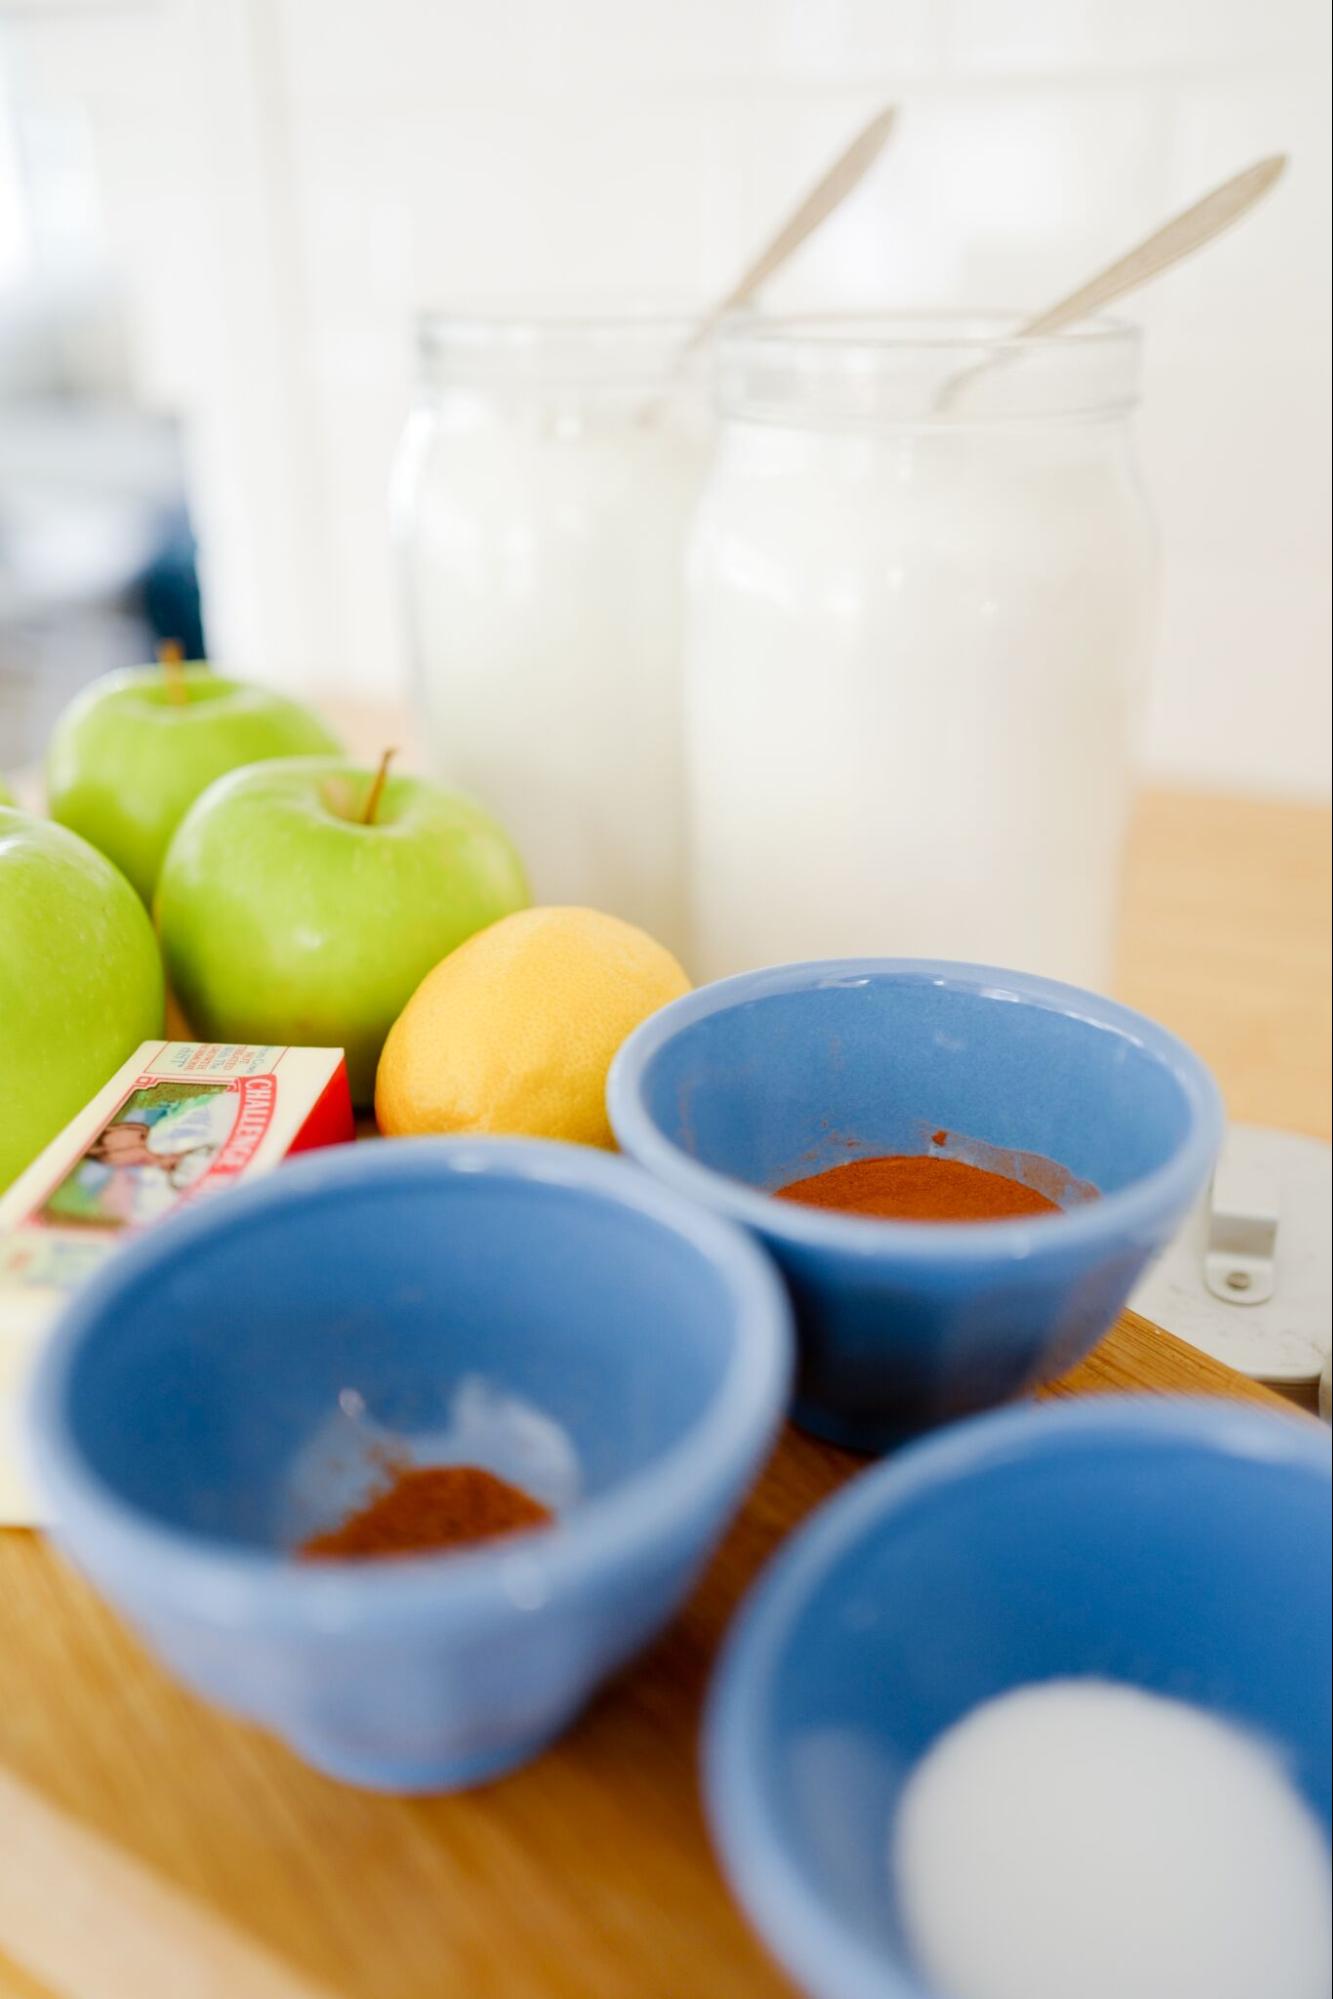
INGREDIENTS ::
2 boxes premade pie crust
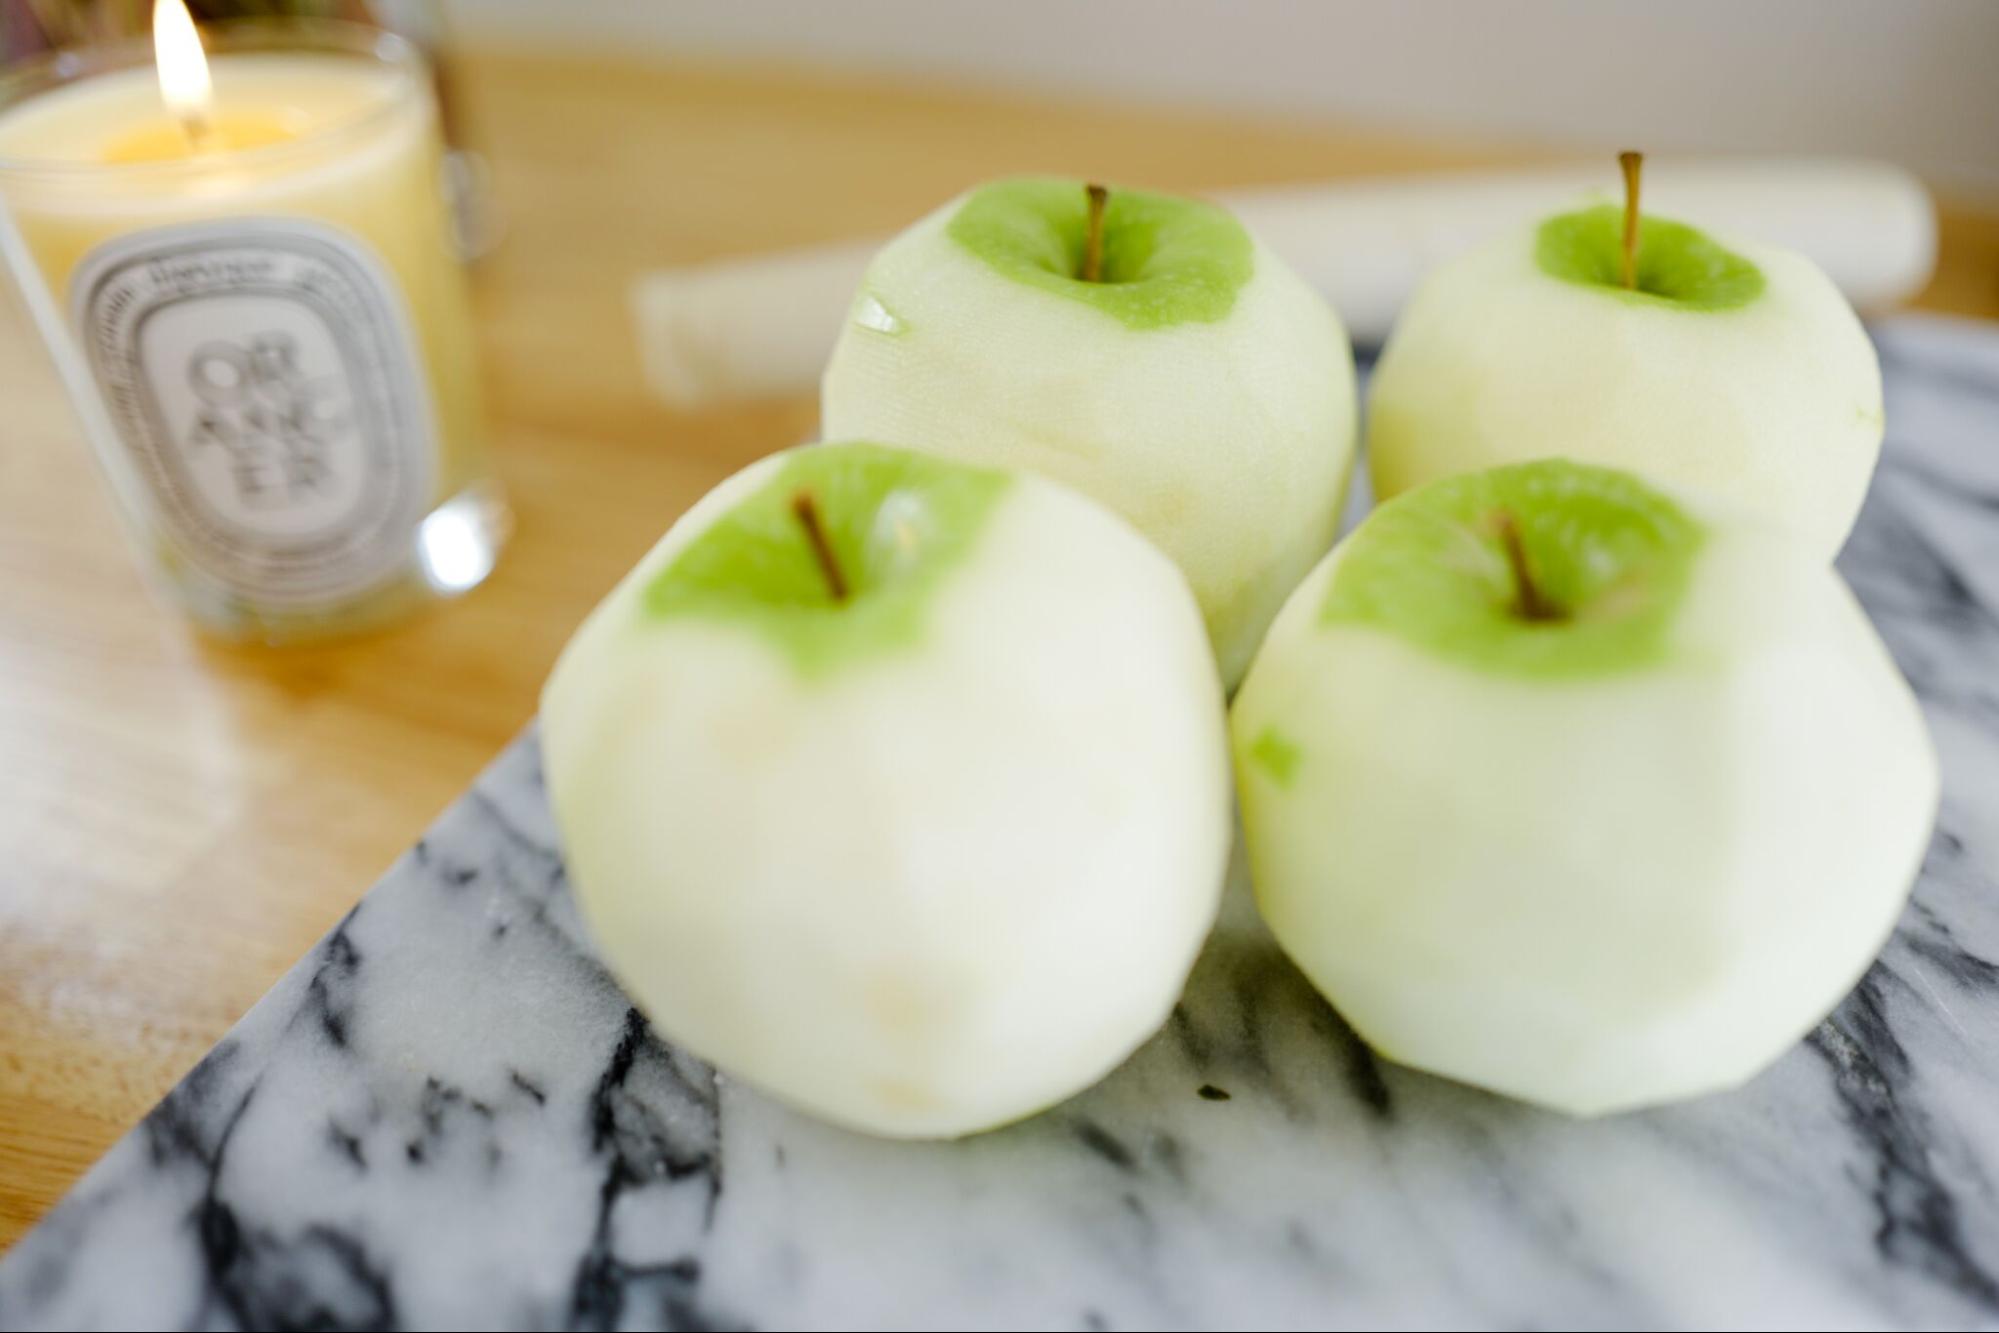
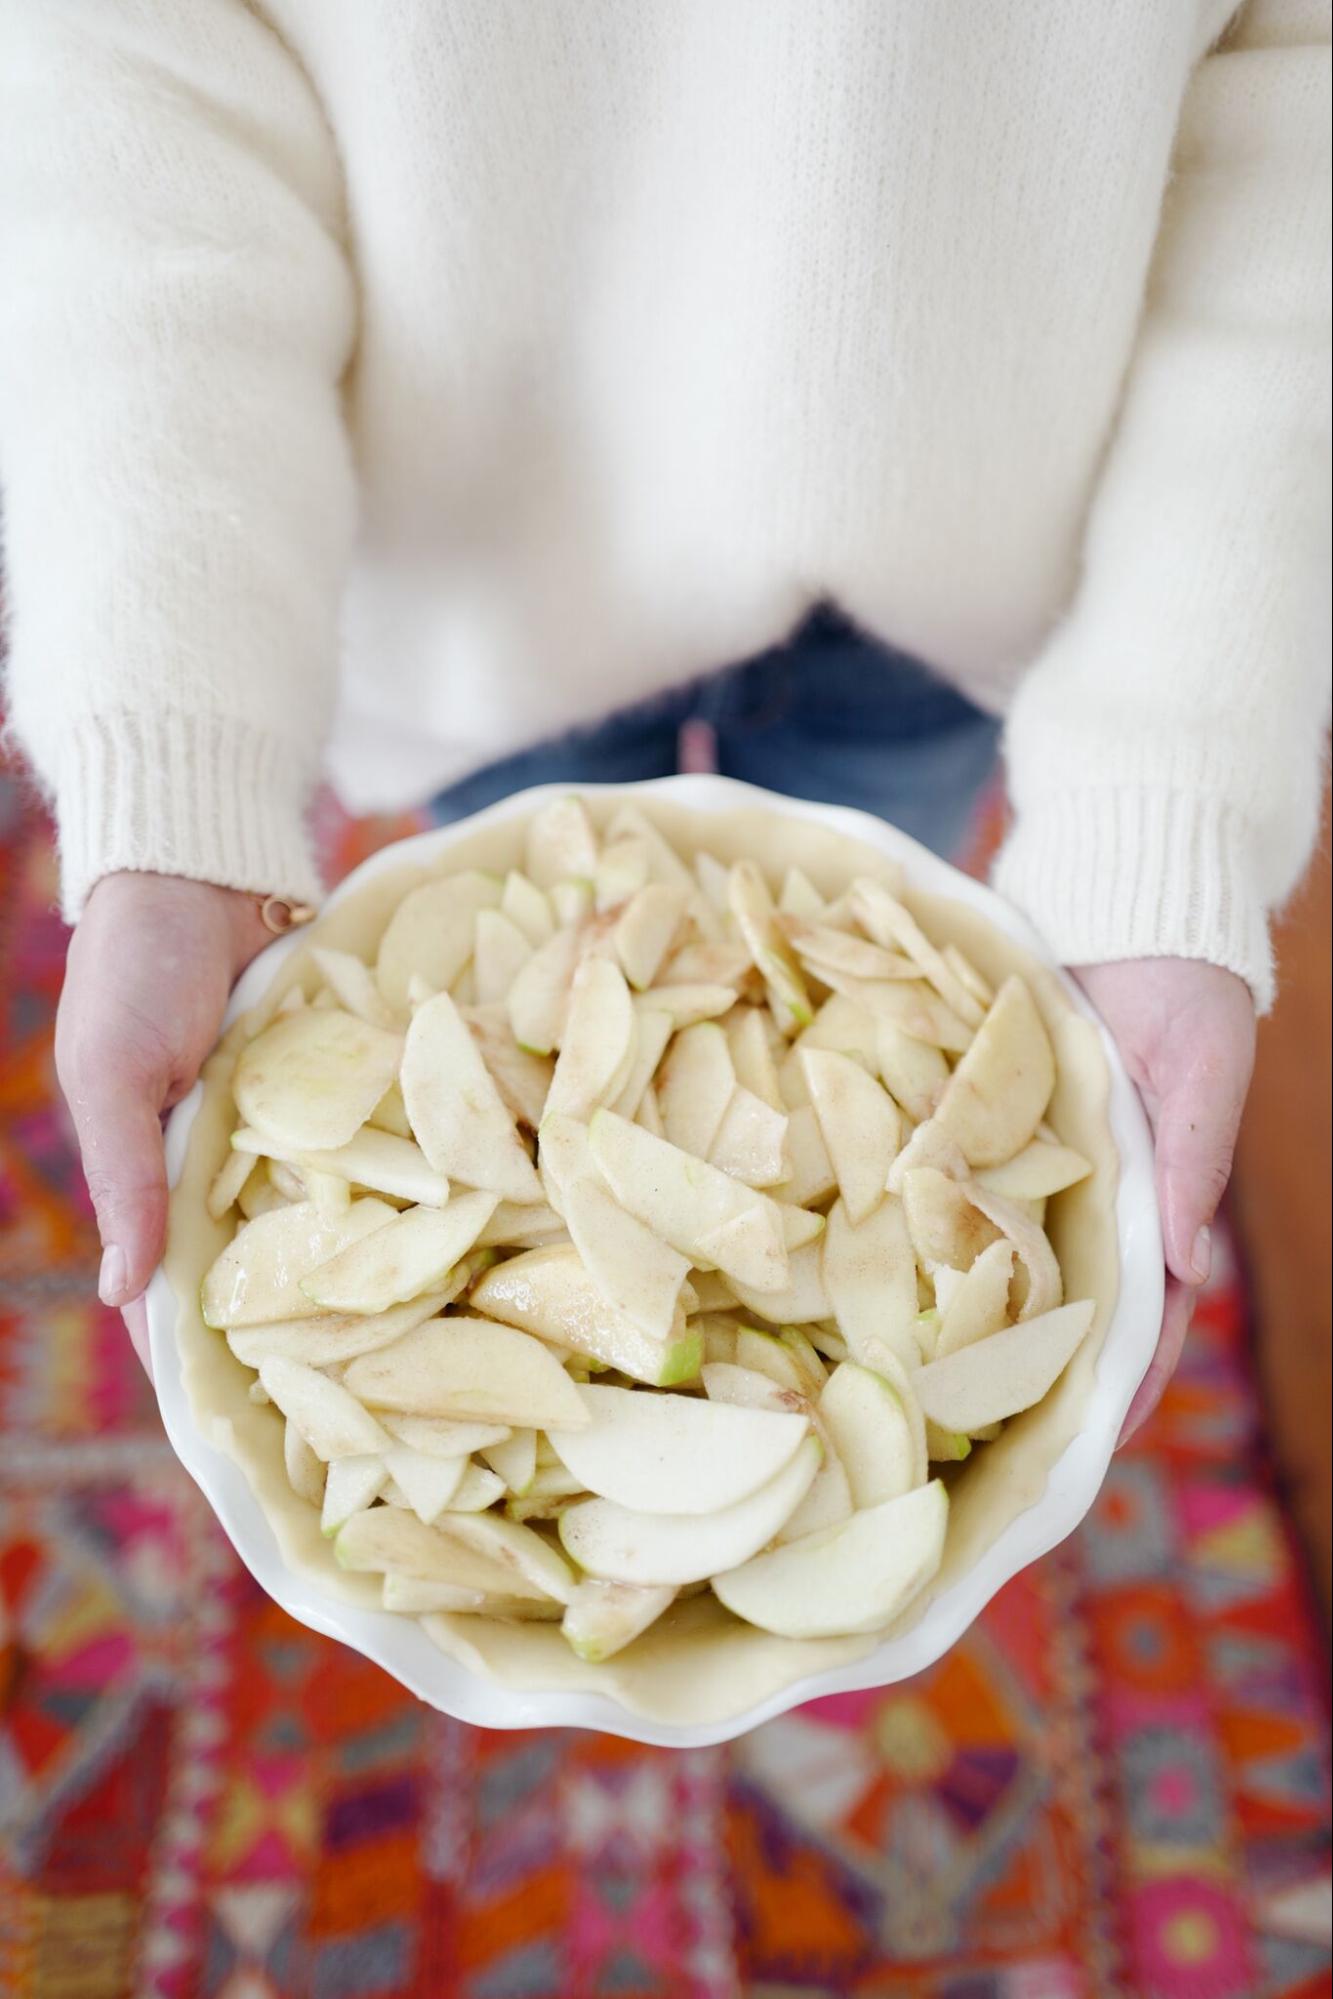
6 cups thinly sliced, peeled apples (8 medium)
¾ cup sugar
2 tablespoons all-purpose flour
¾ teaspoon ground cinnamon
¼ teaspoon salt
⅛ teaspoon ground nutmeg
1 tablespoon lemon juice
STEPS ::
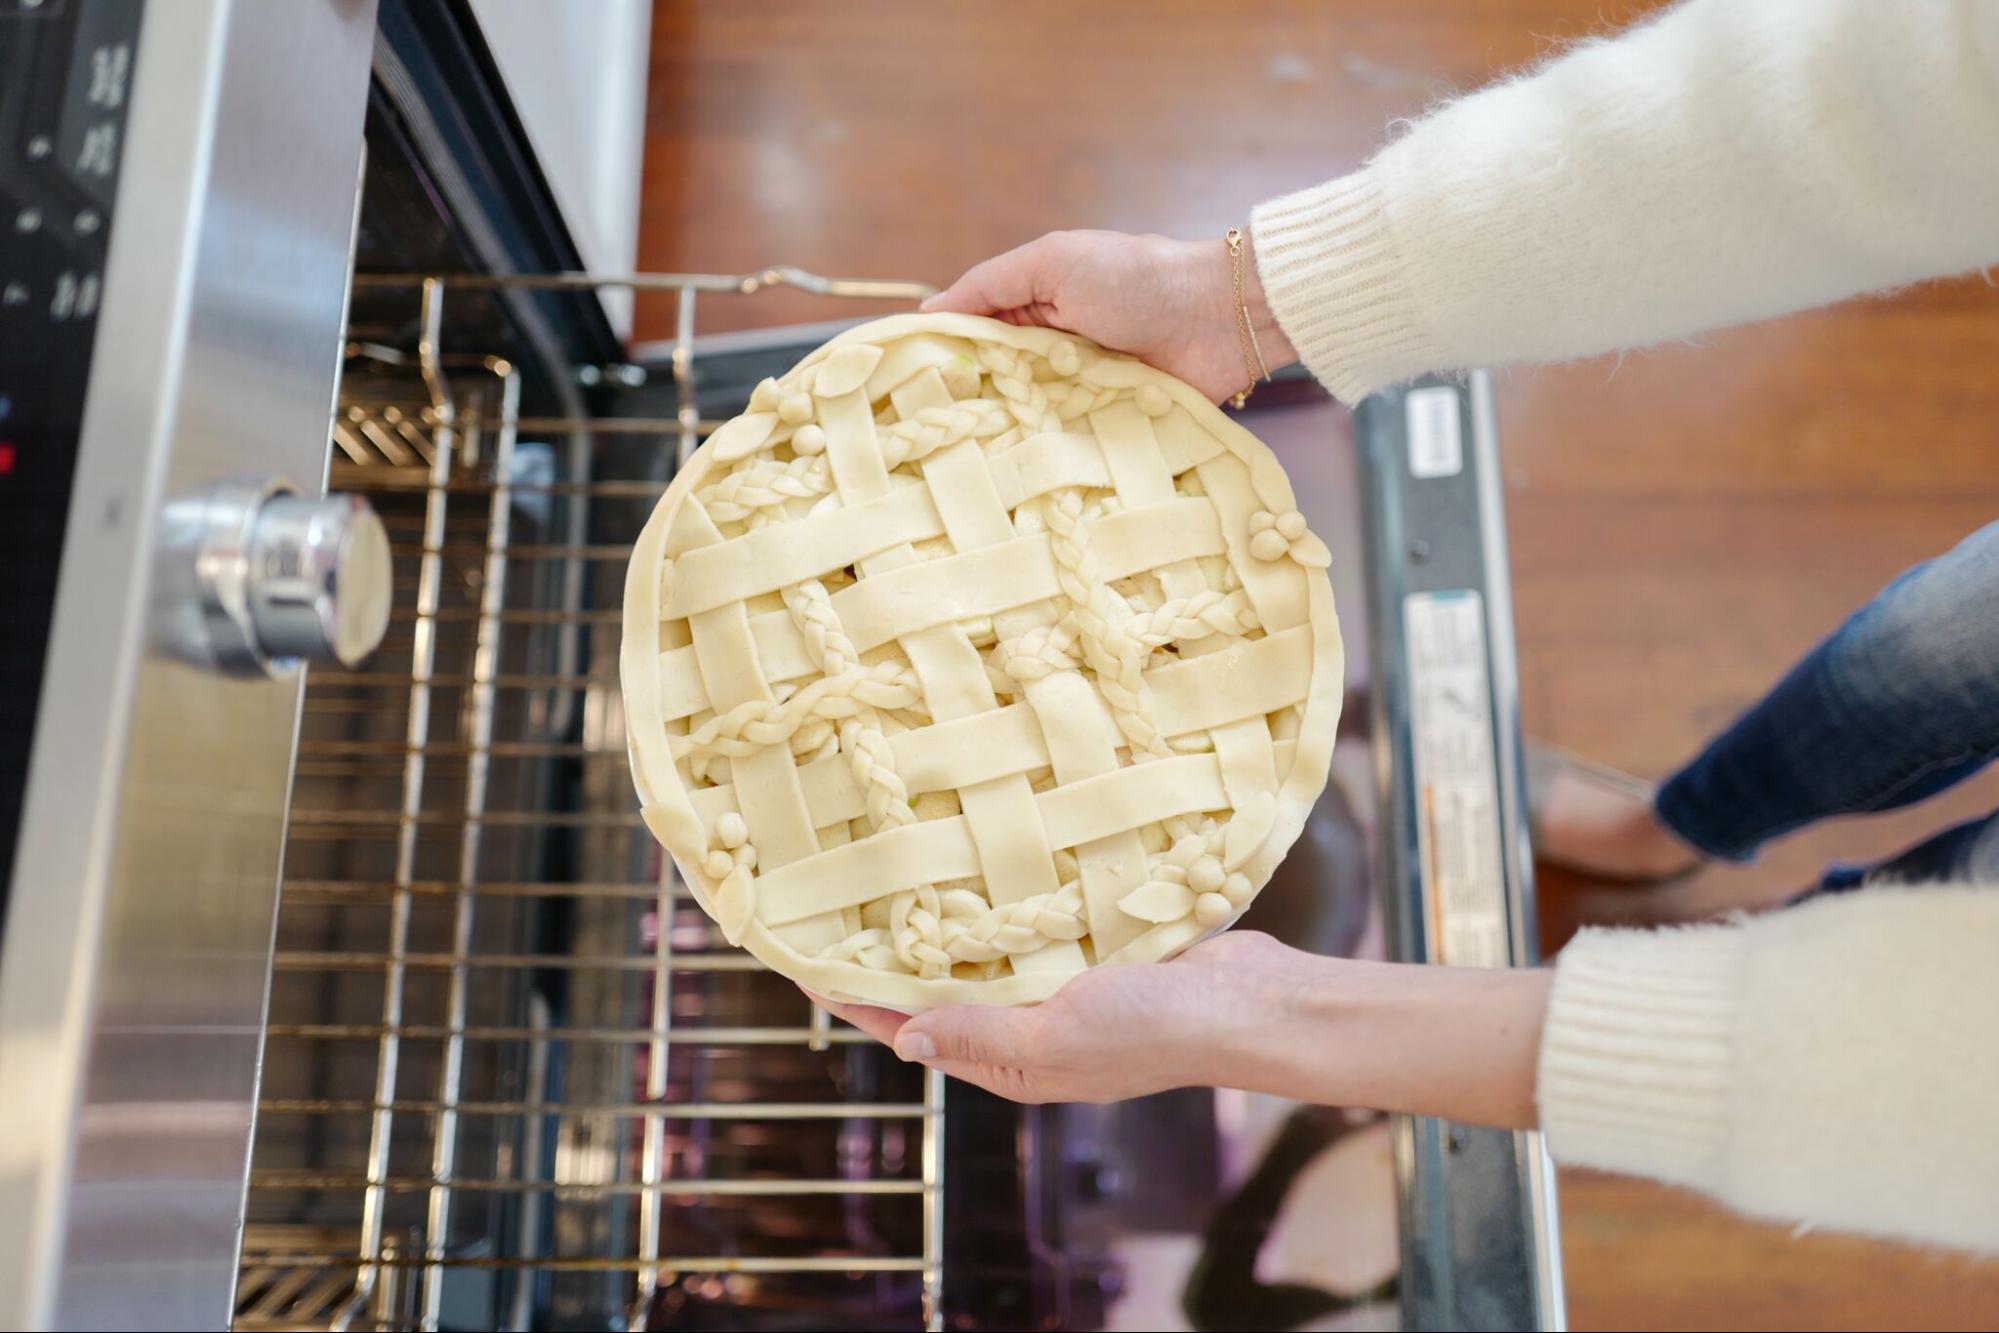
1. Heat oven to 425°F. Place 1 pie crust in ungreased 9-inch glass pie plate. Press firmly against side and bottom.
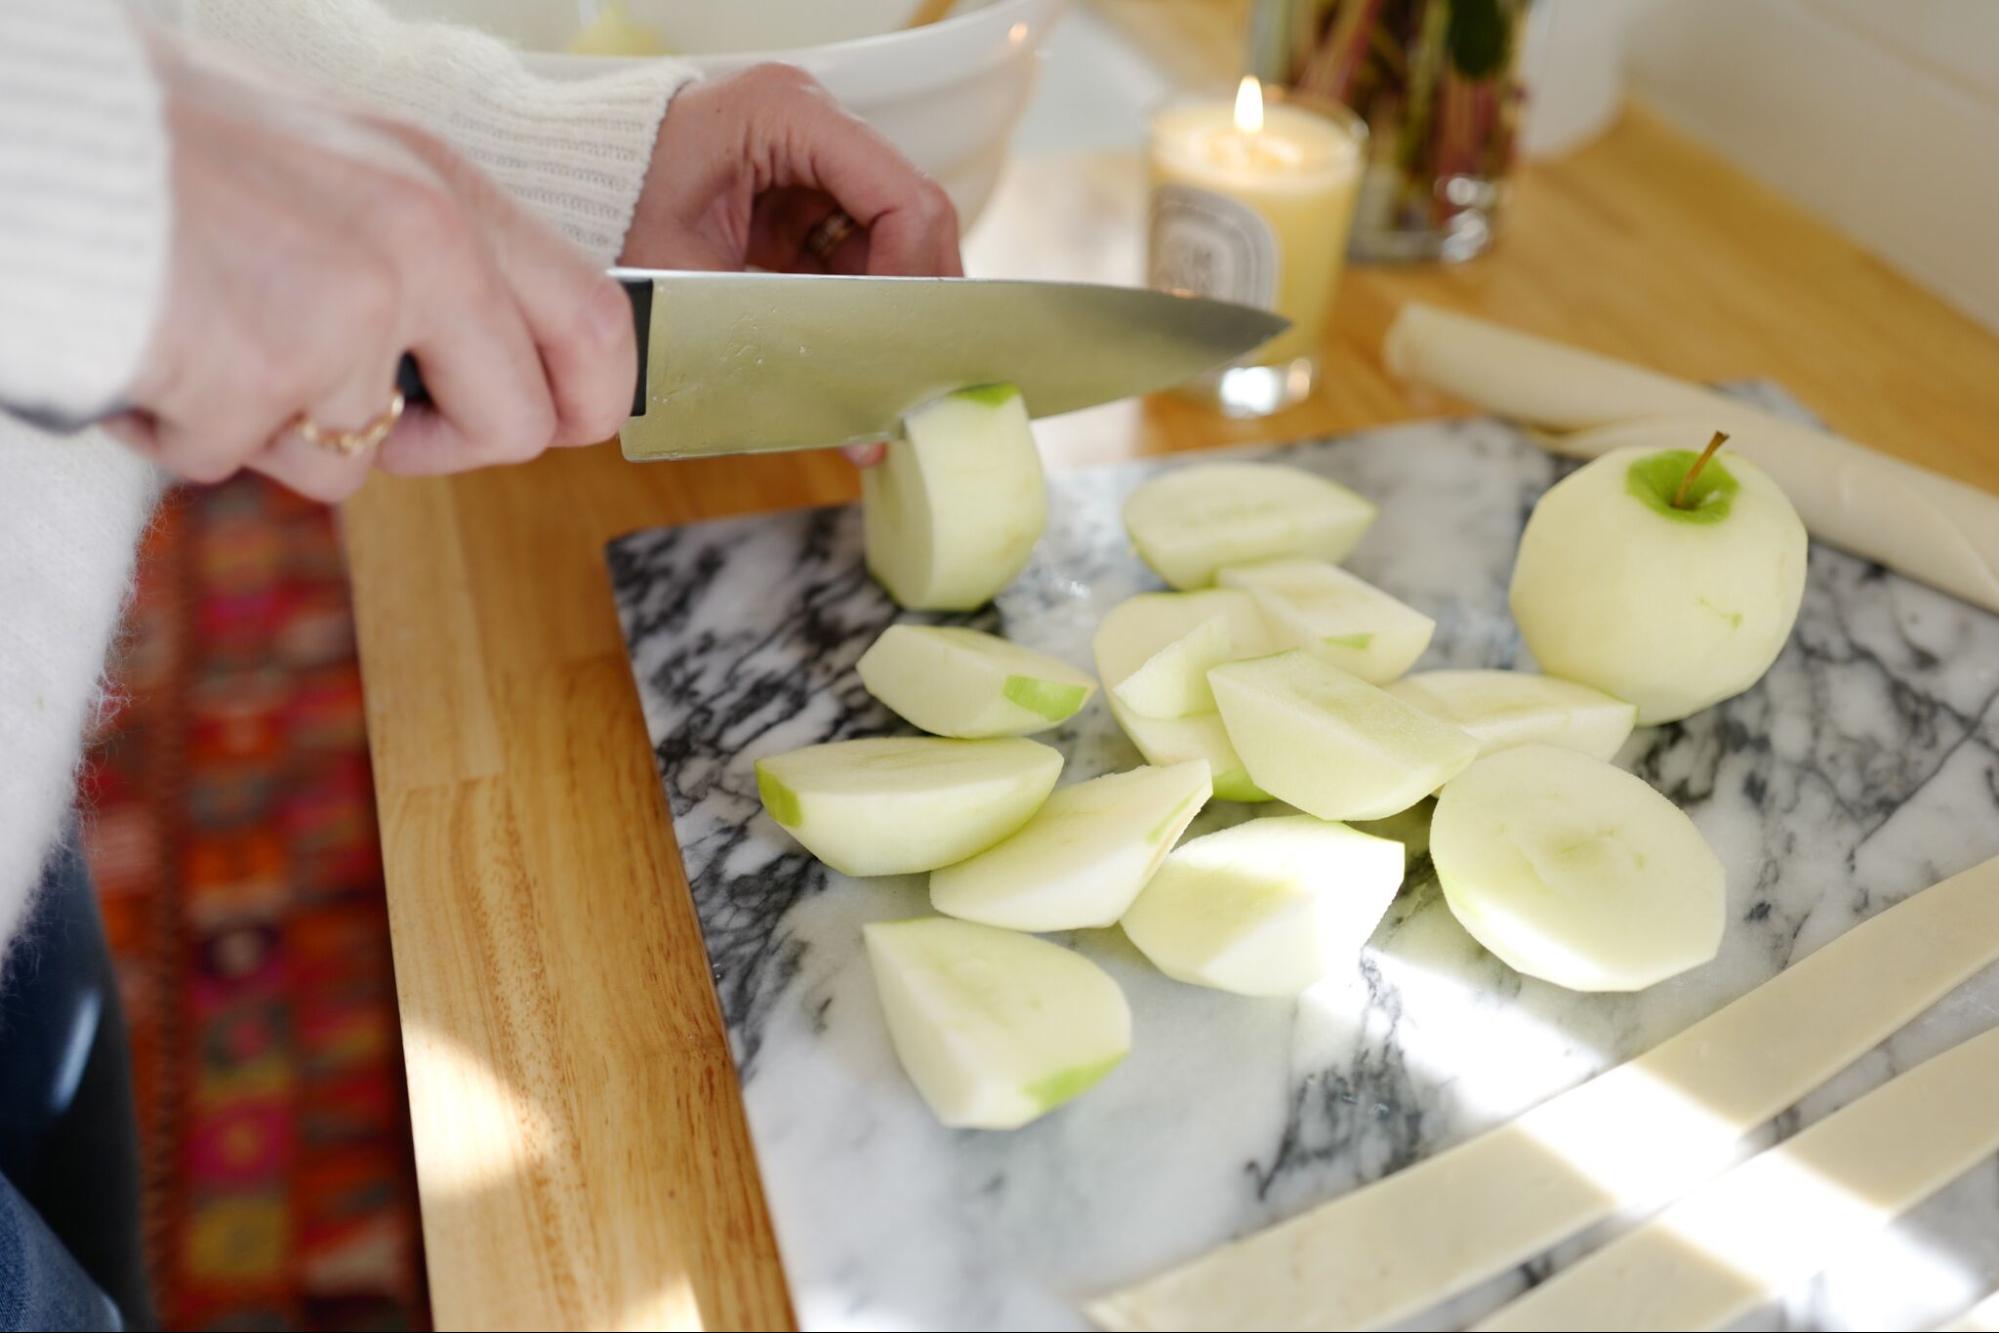
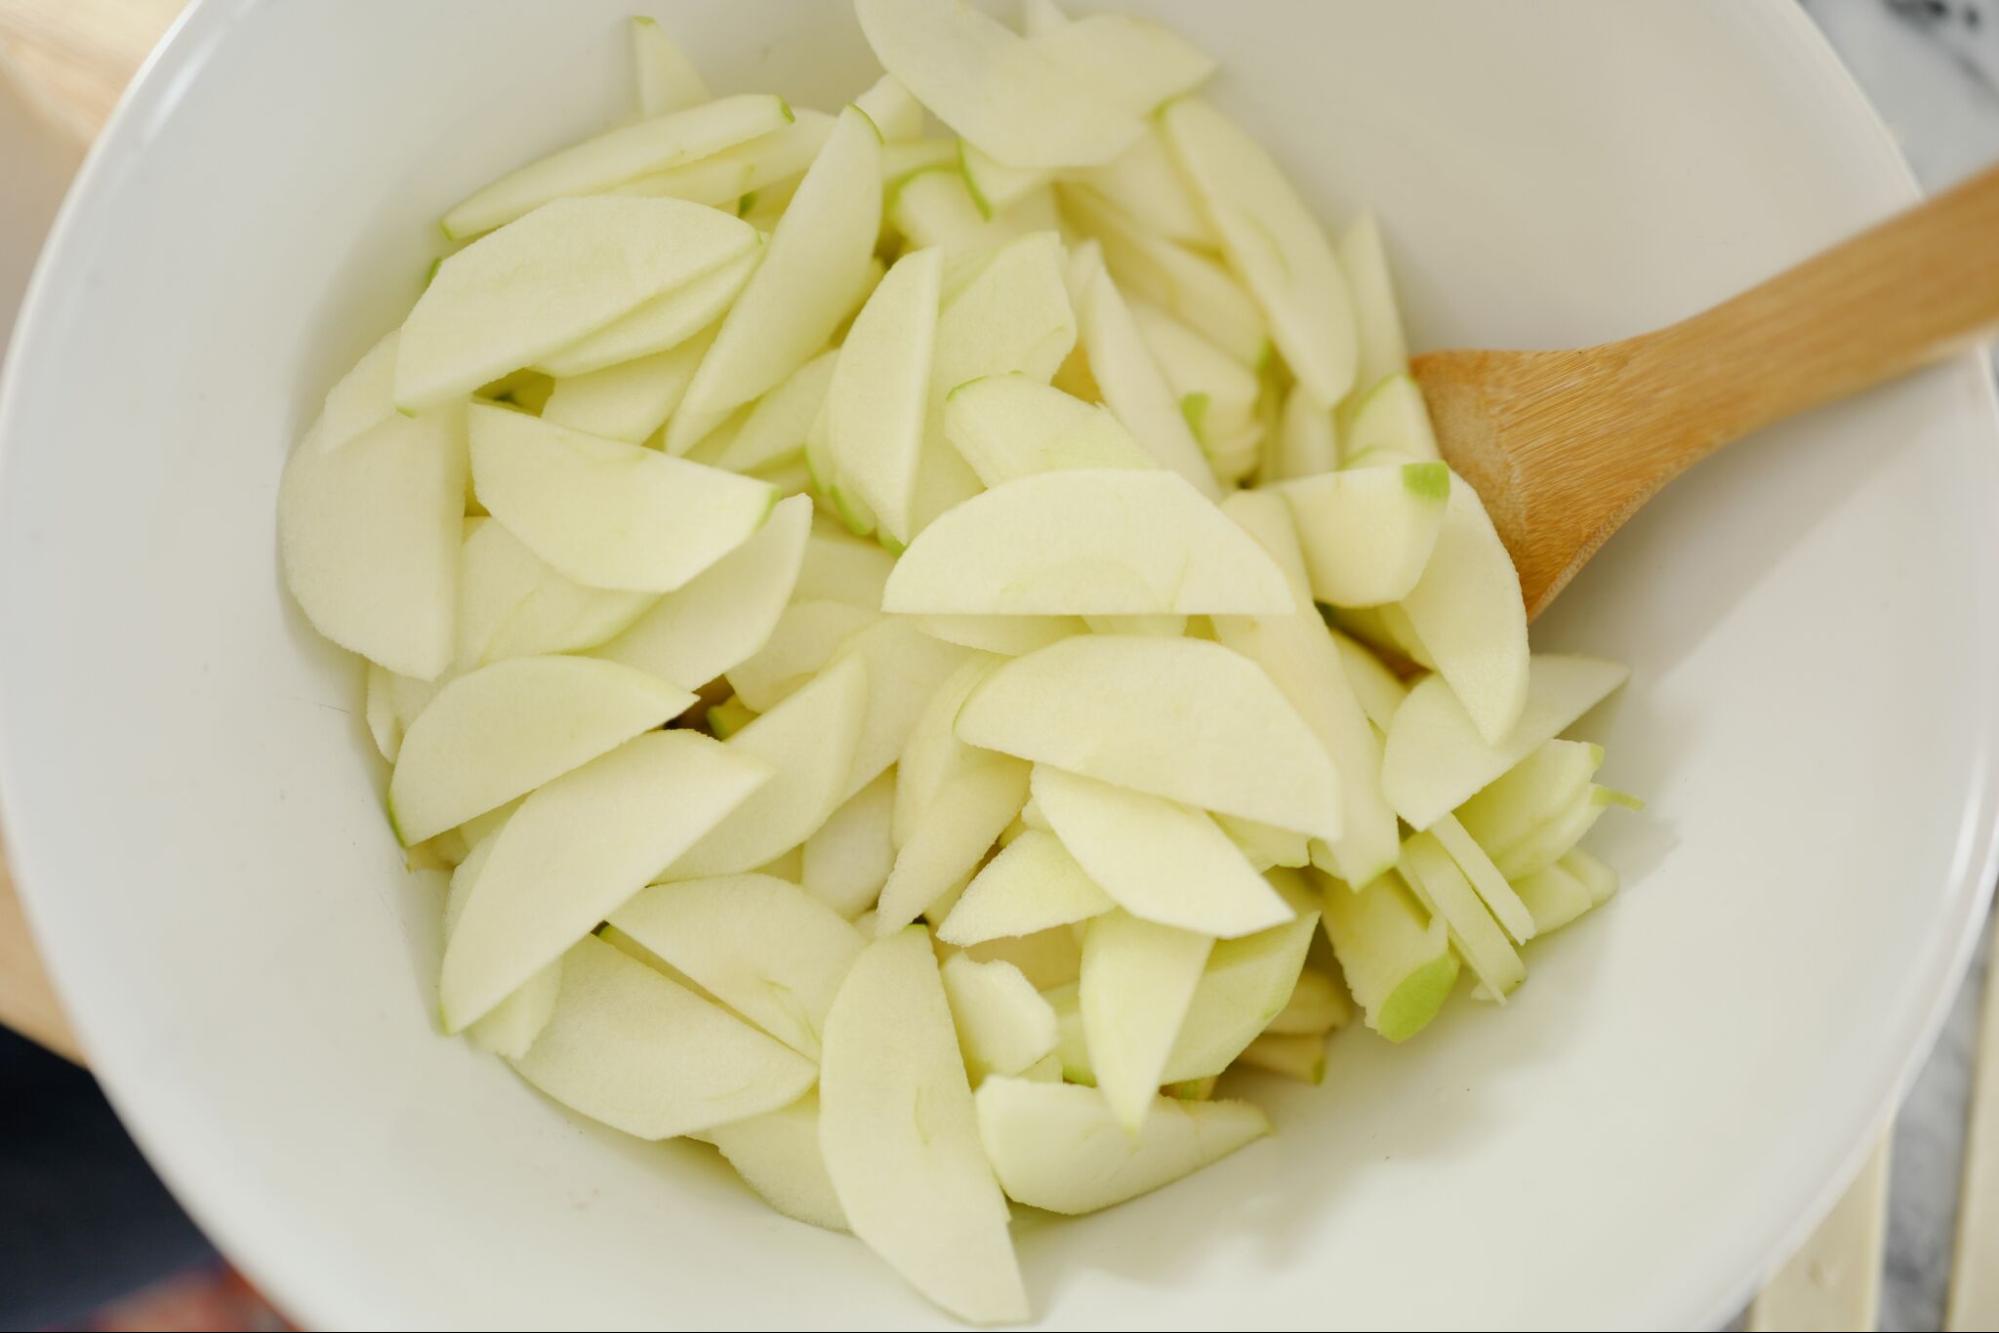
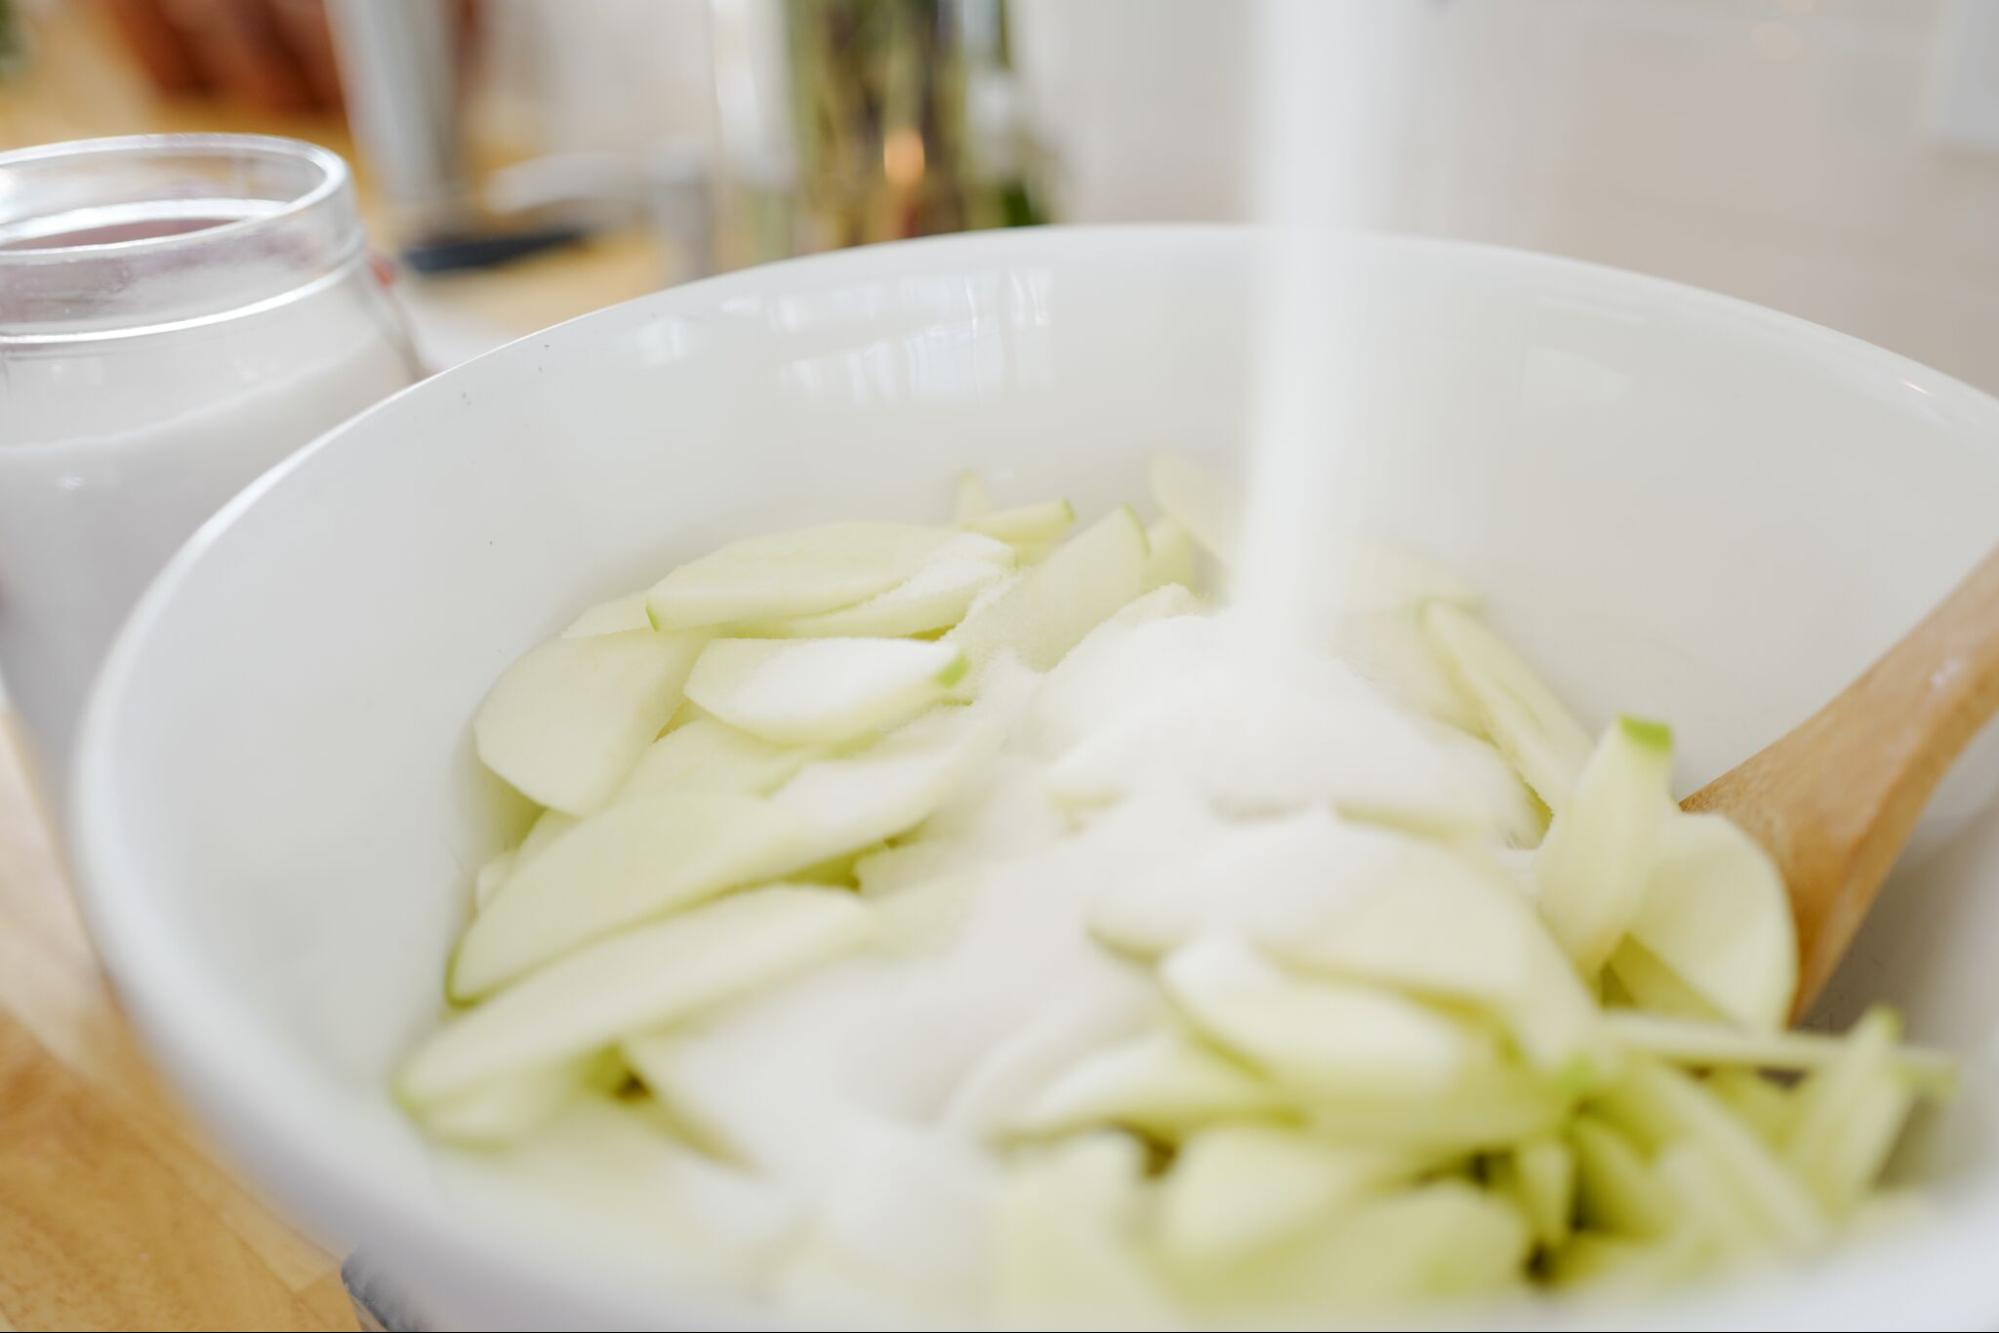
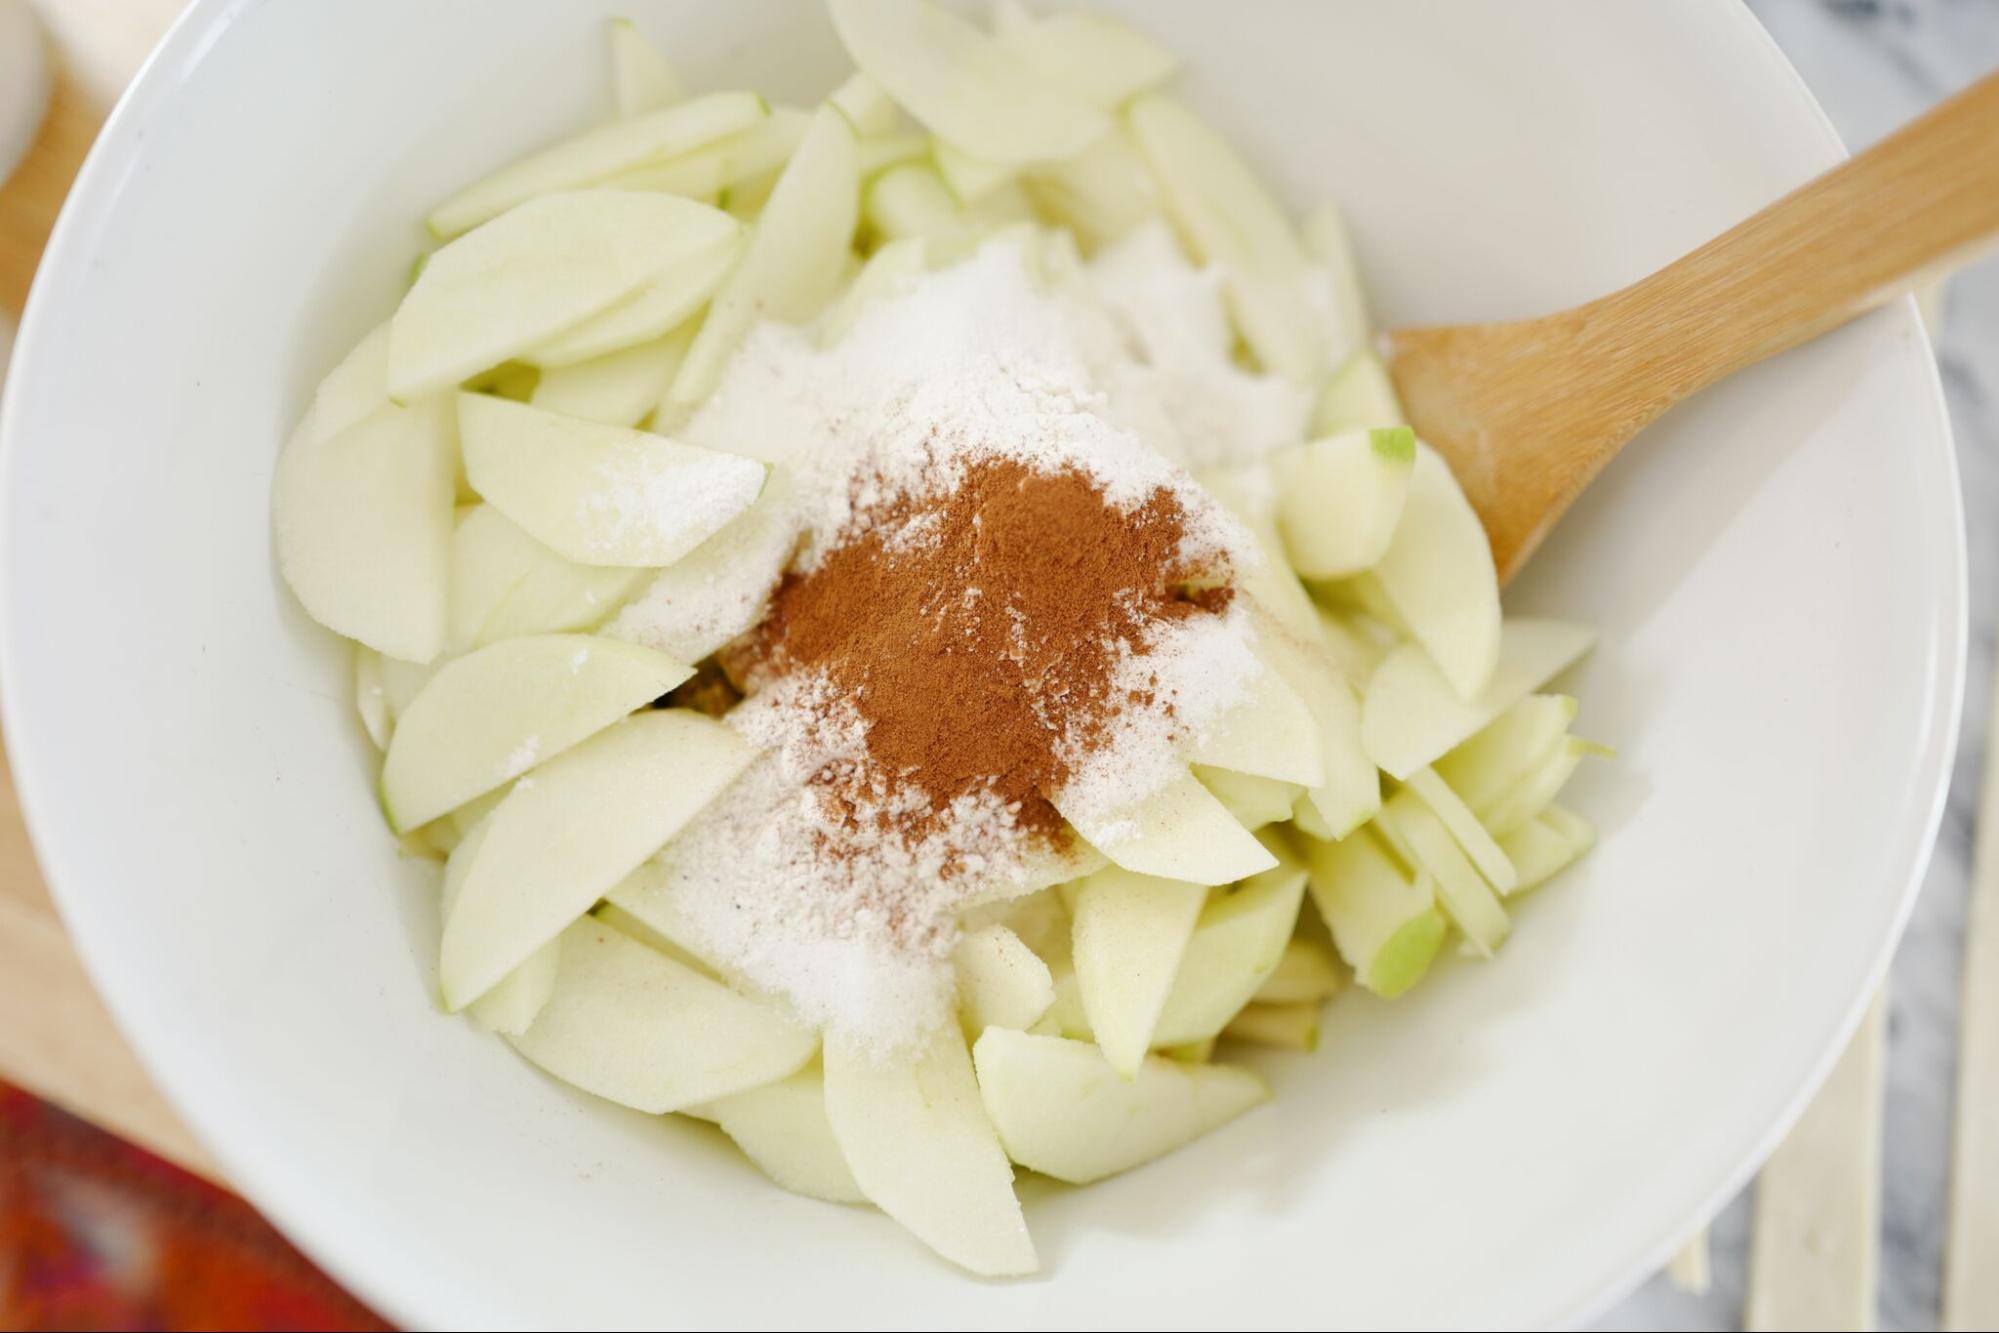
In large bowl, gently mix filling ingredients; spoon into crust-lined pie plate.
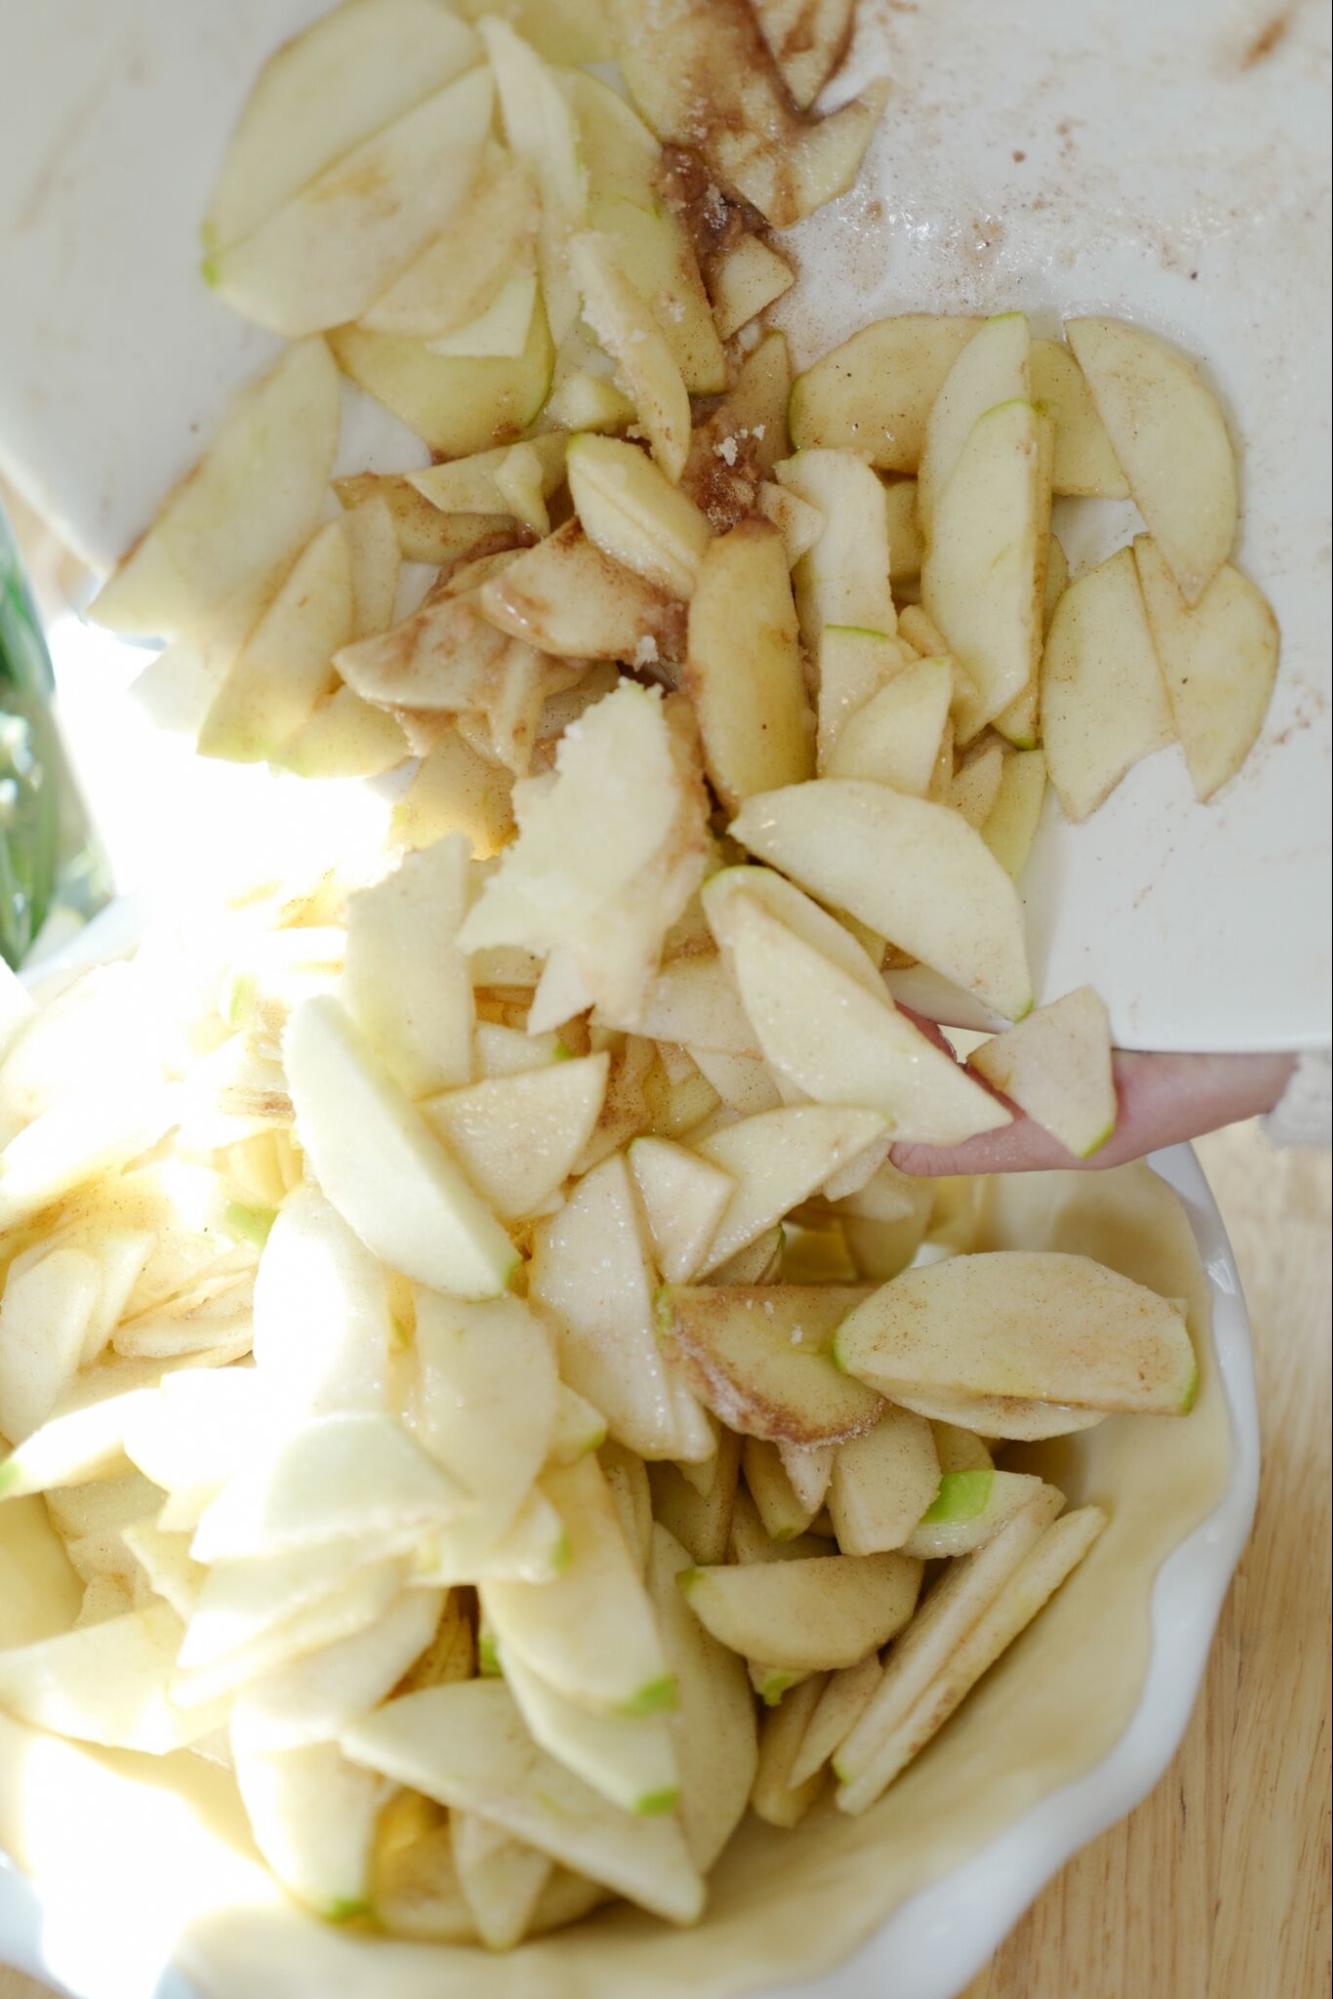
Make sure you have enough apples under the top layer of pie crust so when the pie is baking, it won’t cave in. You want the apples to support the top layer of pie crust so don’t skimp.
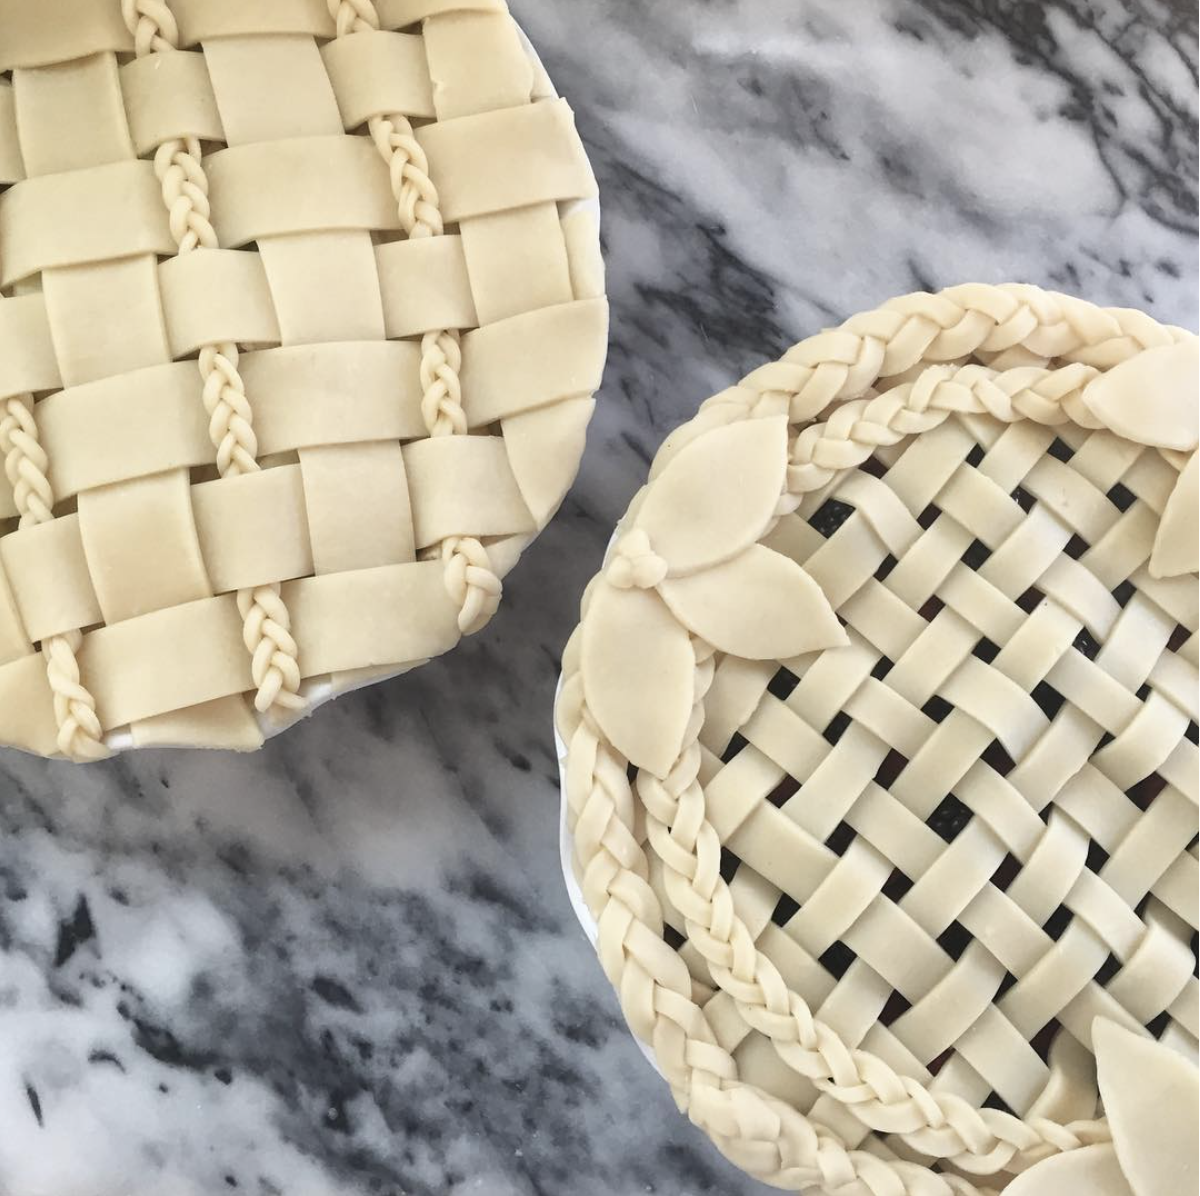
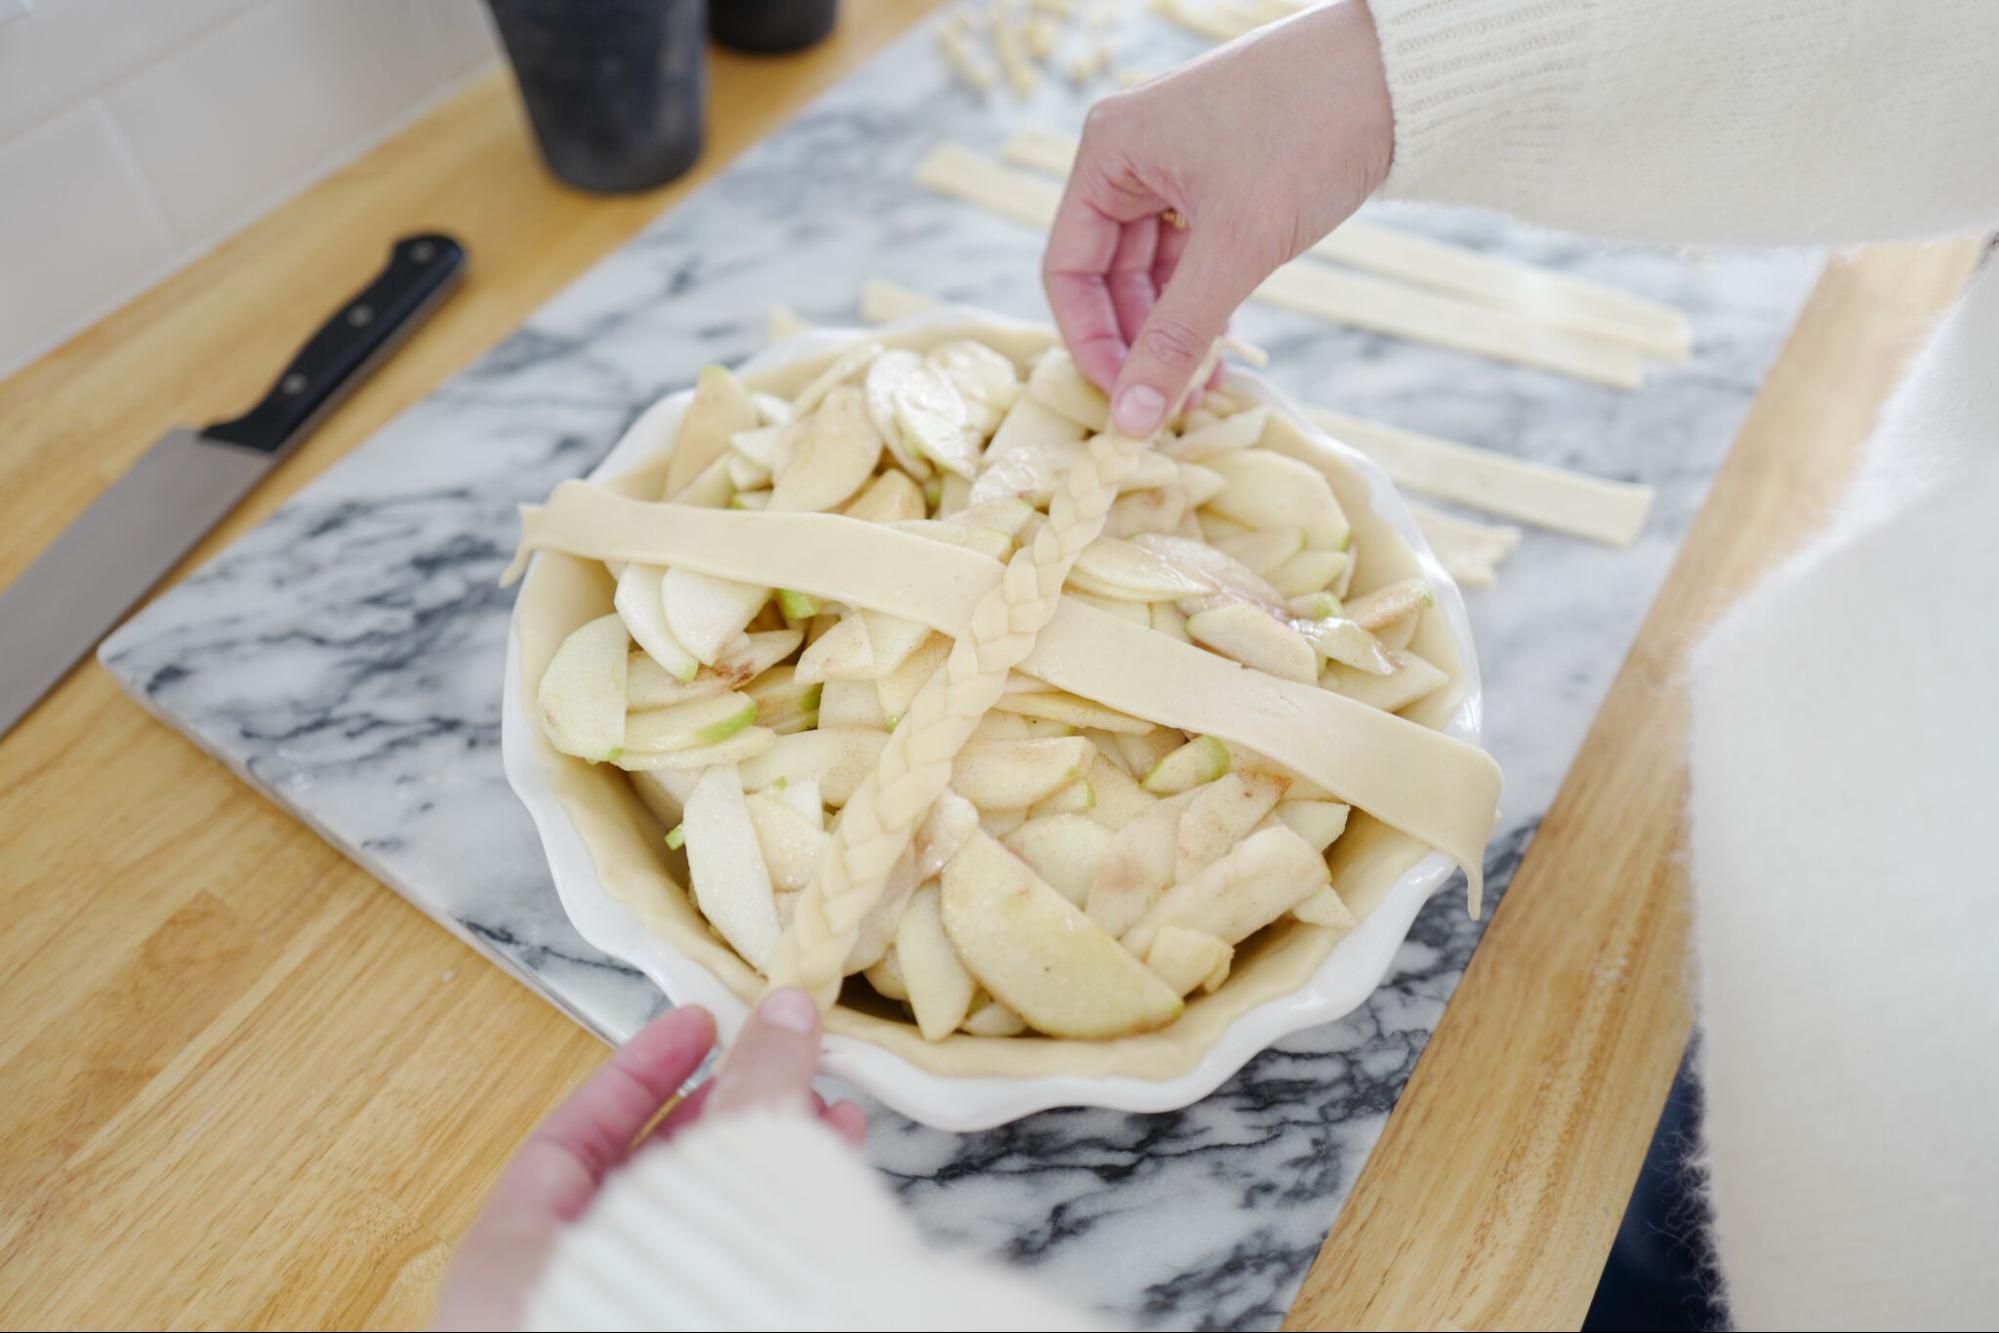
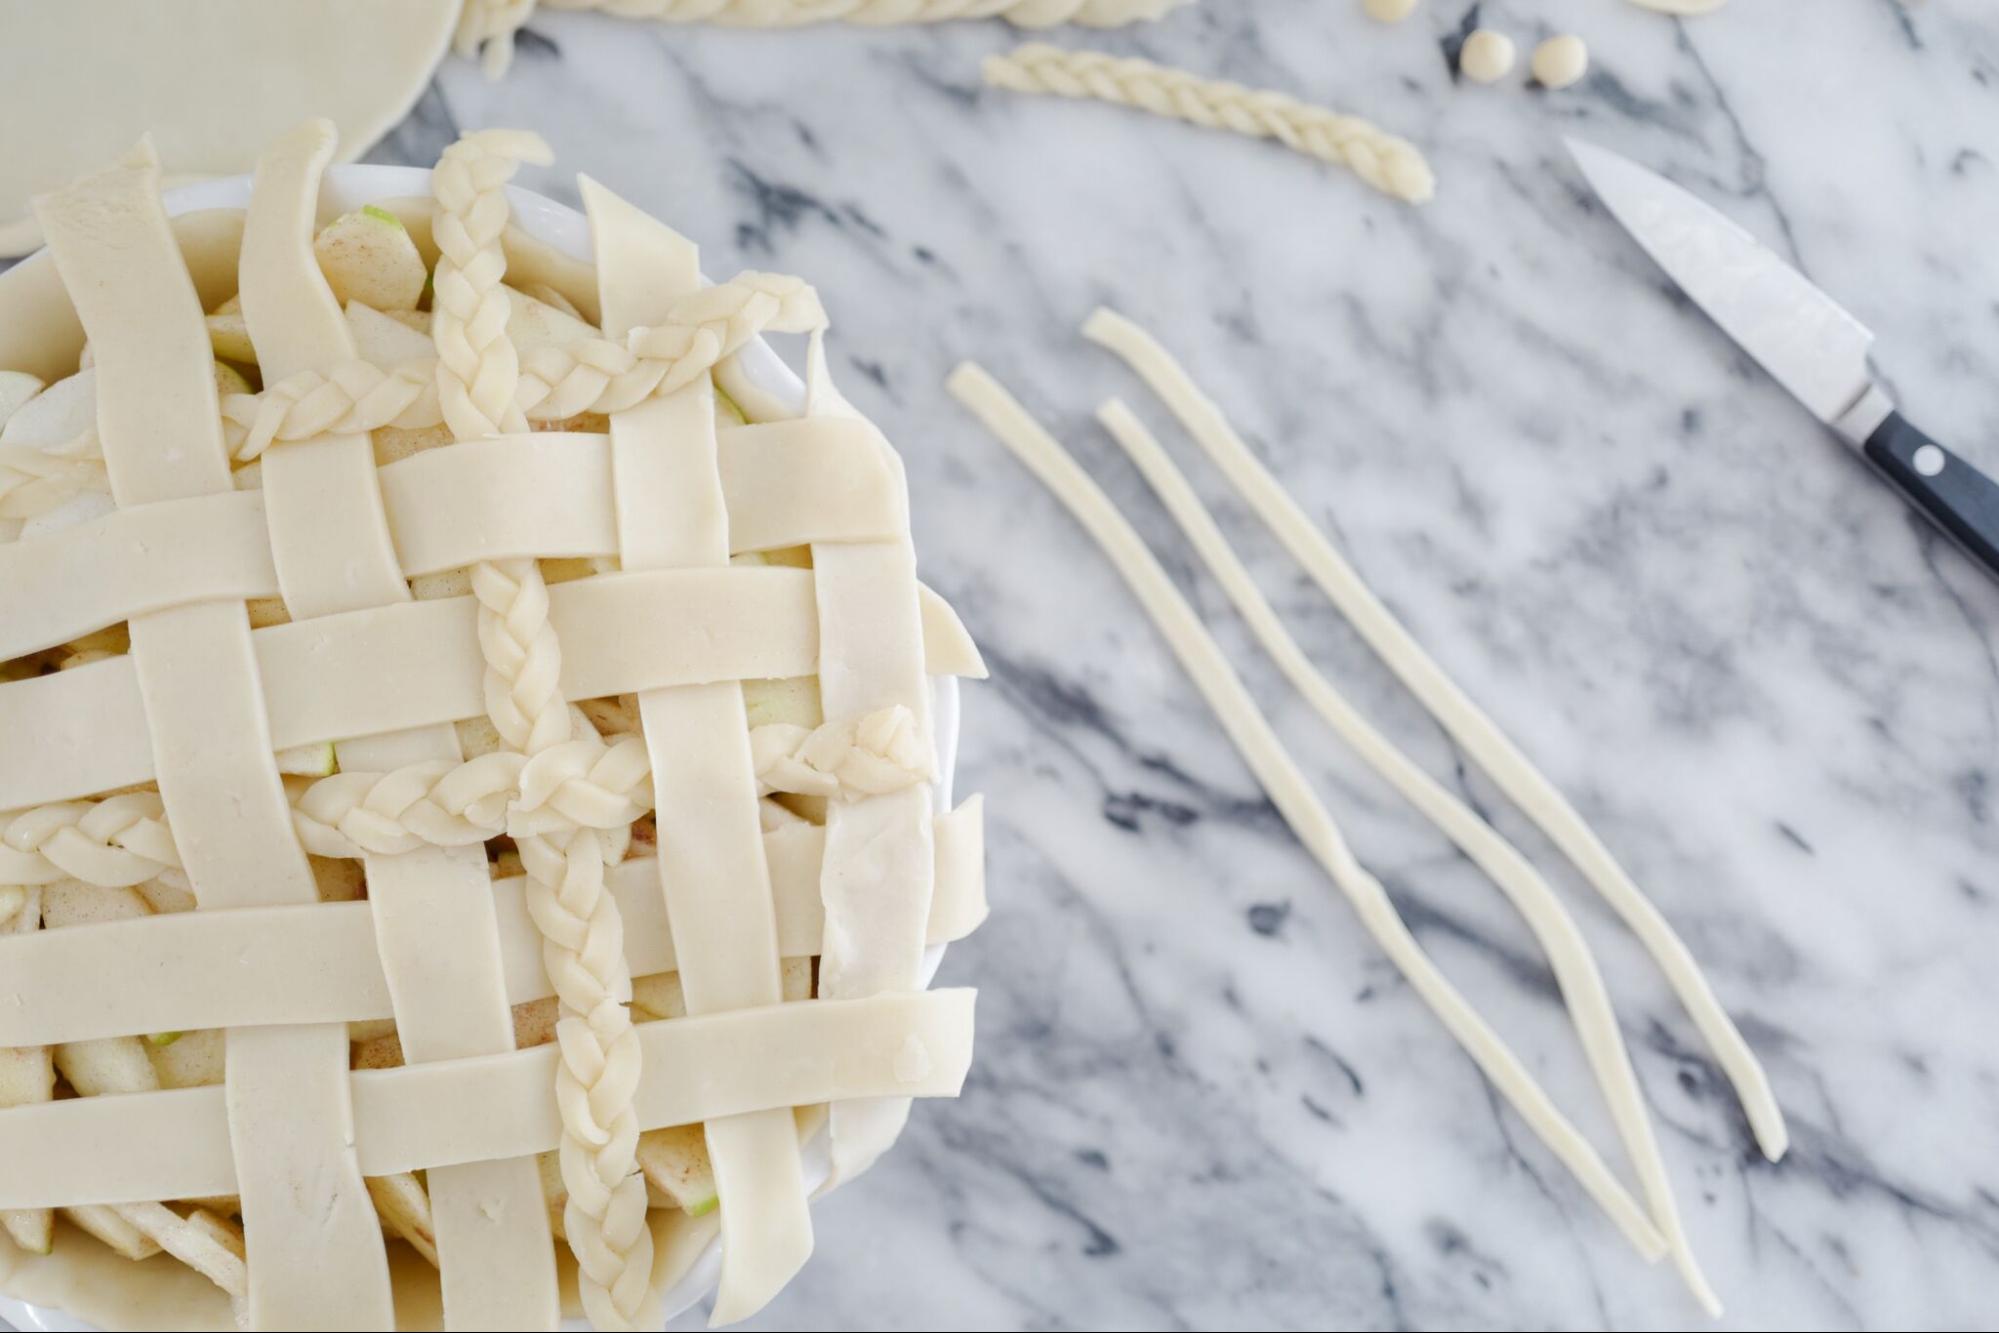
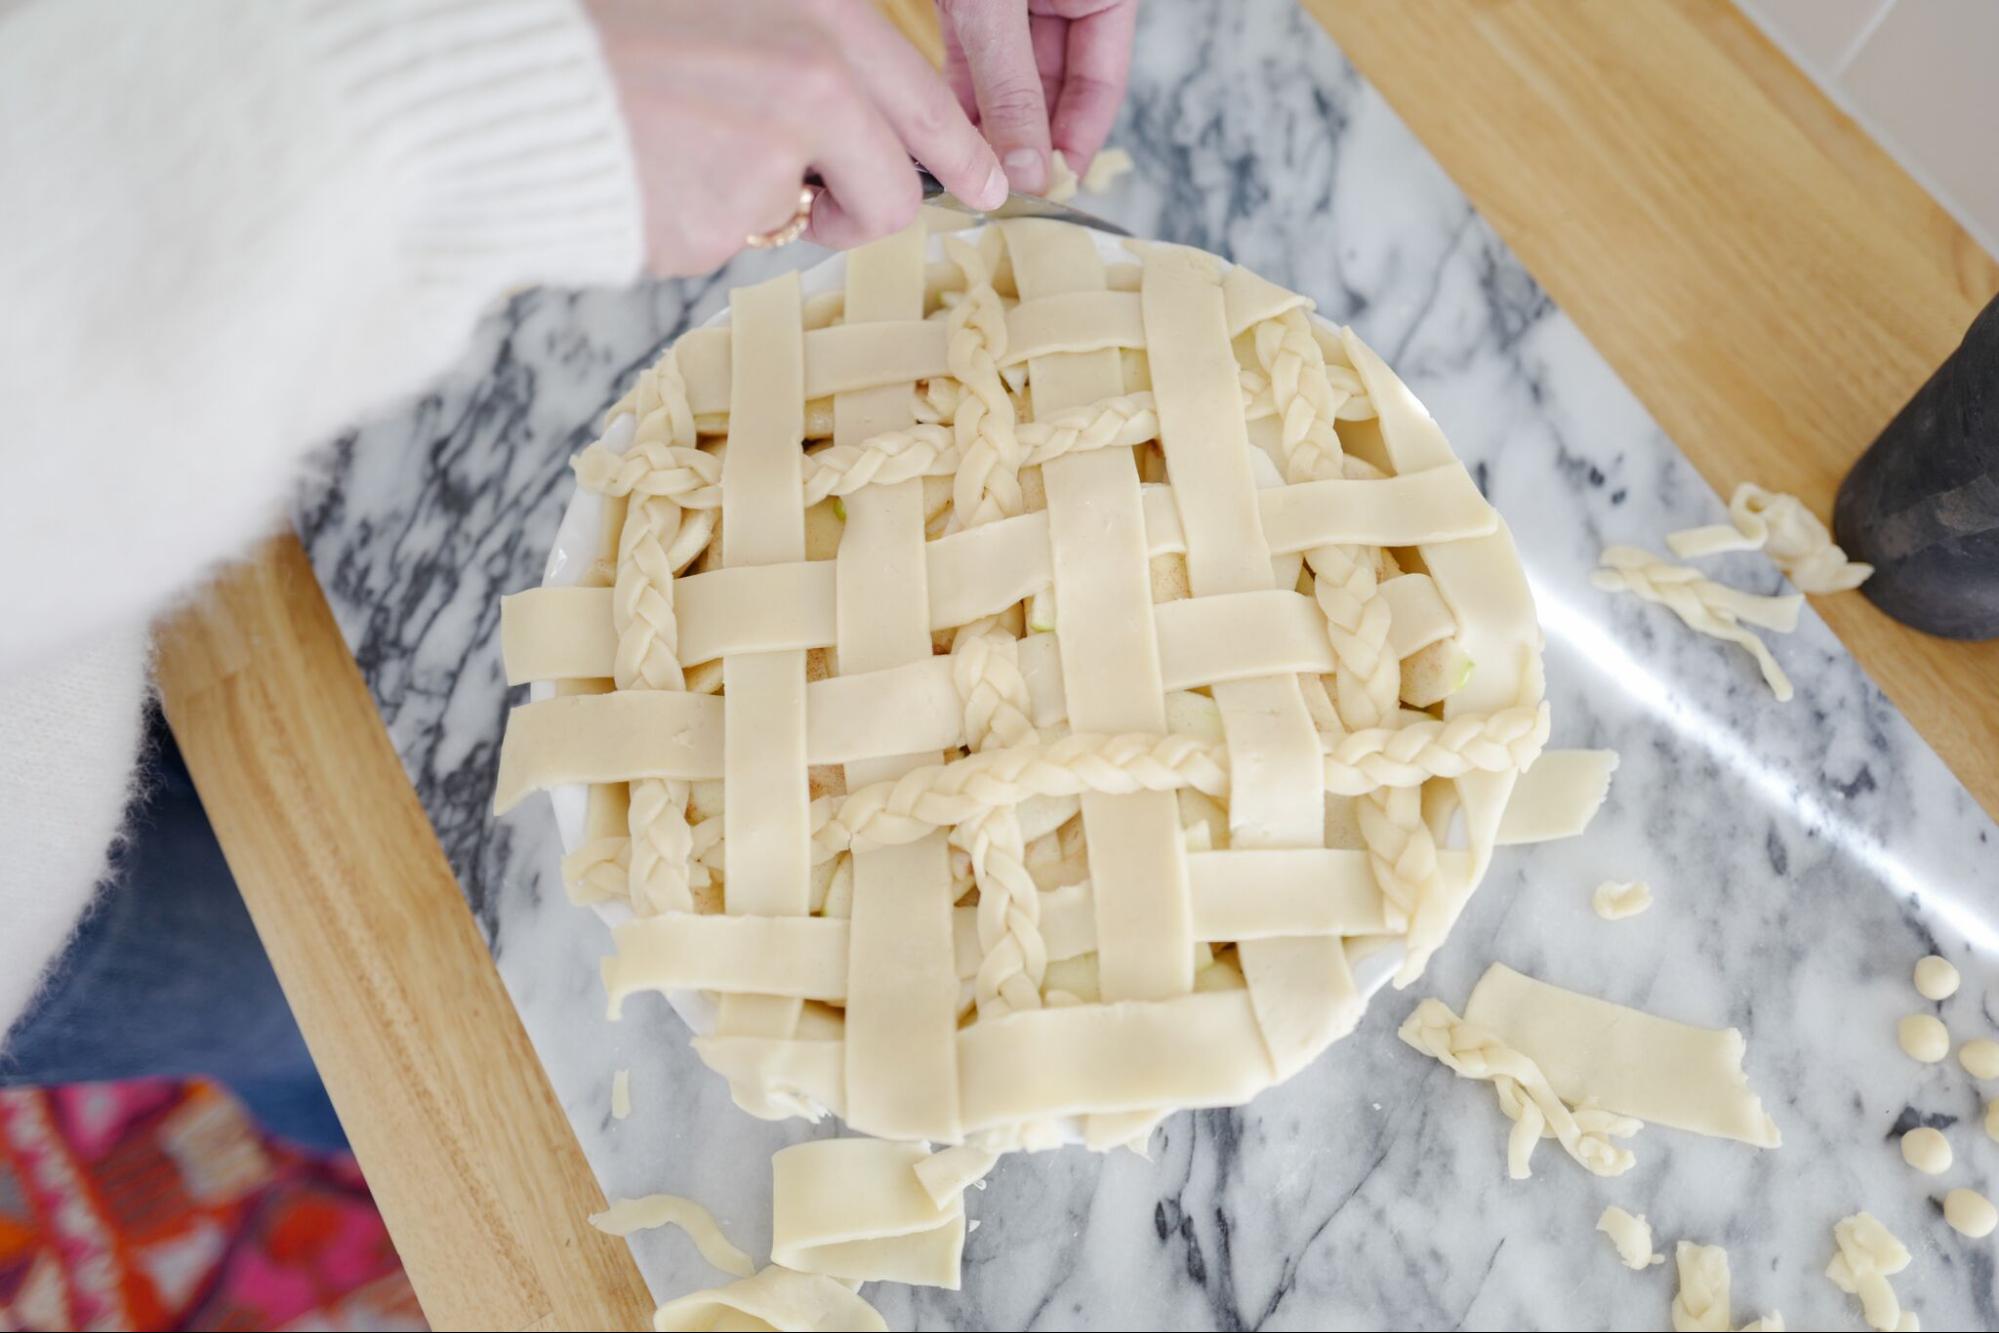
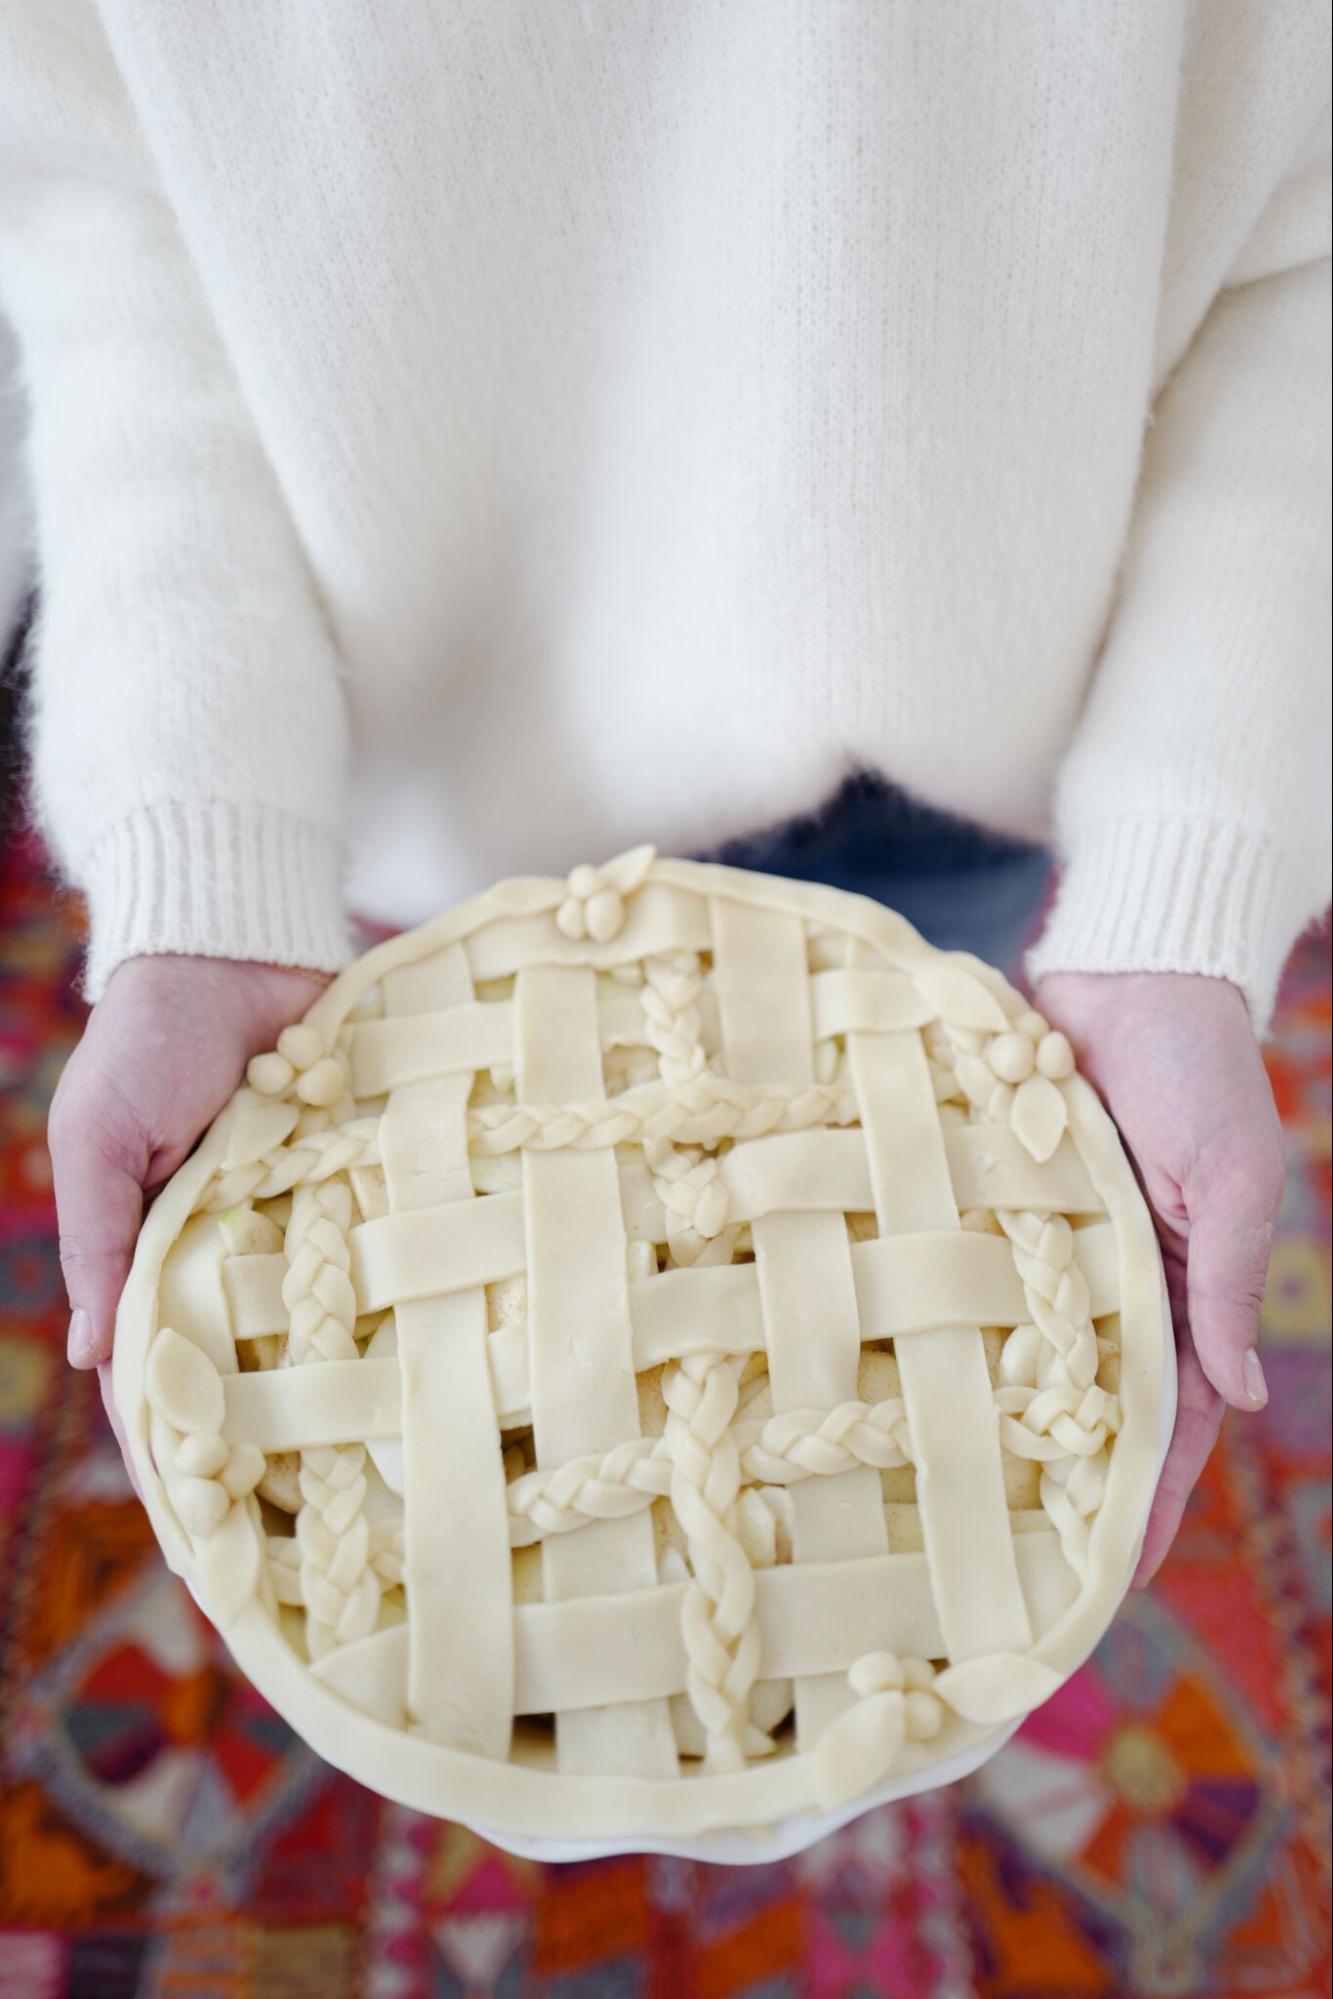
Top with braided and cut slices of pie crust. This is where you choose your pattern. Chloe did a combo of braids and flat slices to do a basketweave type pattern- criss crossing the two and then following an over/under/over/under pattern.
Cut off evenly the excess pie crust hanging over the pie plate. Then slice a thicker piece of crust to surround the edge of the pie creating a seamless edge.
Where the seams of the edging come together, simply place berries or leaves and they will cover up where the seams come together.
Bake 40 to 45 minutes or until apples are tender and crust is golden brown. Cover edge of crust with 2- to 3-inch wide strips of foil after first 15 to 20 minutes of baking to prevent excessive browning. Cool on cooling rack at least 2 hours before serving.
Happy Thanksgiving everyone! Wow them with this easy, picture perfect pie crust.